Private static website with Azure Storage
Static websites on Azure Storage is now generally available.
If your website doesn’t require any server side data processing or manipulation, then deploying to Azure App Service or even a VM might seem like overkill. I recently had a customer who wanted to migrate a simple intranet application into Azure, however they did not want it to be publicly accessible - so that ruled out a Web App. App Service Environments are great for this kind of scenario, however the cost was prohibitive in this case due to the nature of the application. They decided to look at putting it in an Azure hosted VM instead.
With the announcement above, it got me thinking; can we deploy a static site into Azure Storage, and restrict access from the internet?
The answer is yes! - with VNet Service Endpoints for Azure Storage.
Let’s do it!
Download source code
You can find it here.
This is a static blog generated with the excellent blog framework Hexo, and it’s how I build this website.
Deploy the required resources
- A Virtual Network with a single subnet
- A Windows Server 2016 VM in that subnet (choose a small size to keep your costs down)
- A v2 general purpose storage account
We need to choose a v2 general purpose storage account, because static sites is not supported with v1. Please also note, you will need to log into the VM later on, so make sure you add a rule to ‘Allow RDP’.
Enable Static Websites in your storage account
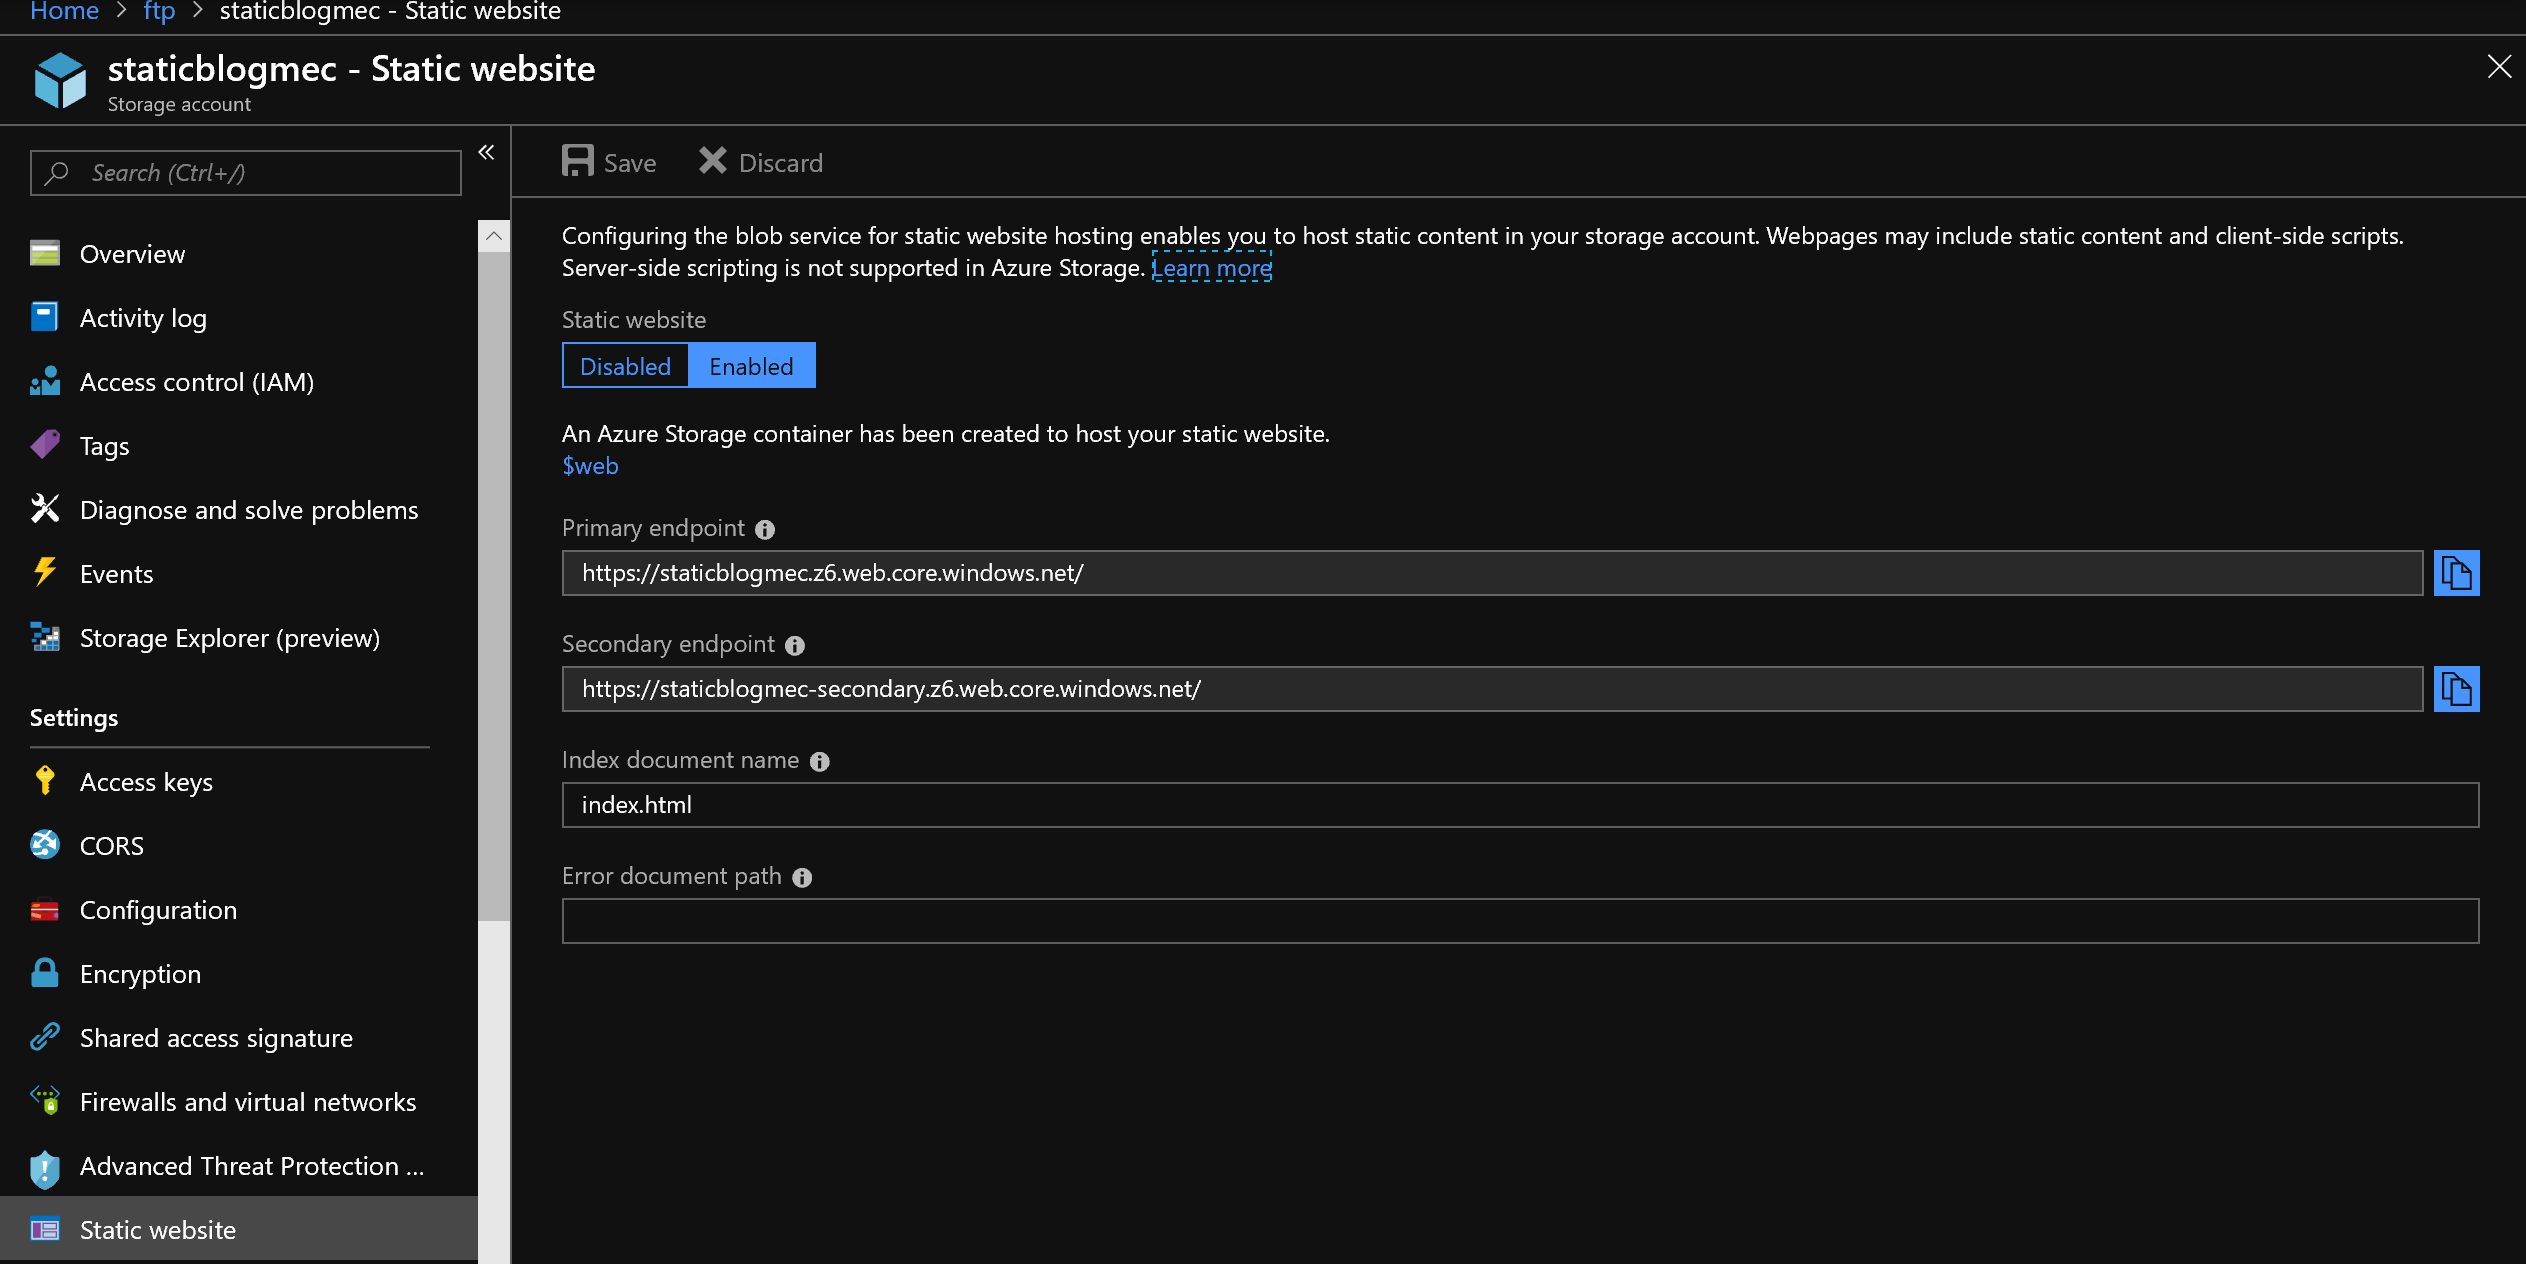
When you enable static websites, you need to specify your index document name; in our case, it is index.html. We can ignore the 404 default page, but it is best practice to have one.
A container named $web is created for us; this is where we will be uploading our content.
Before we do that, we want to secure our storage account with the virtual network we created earlier.
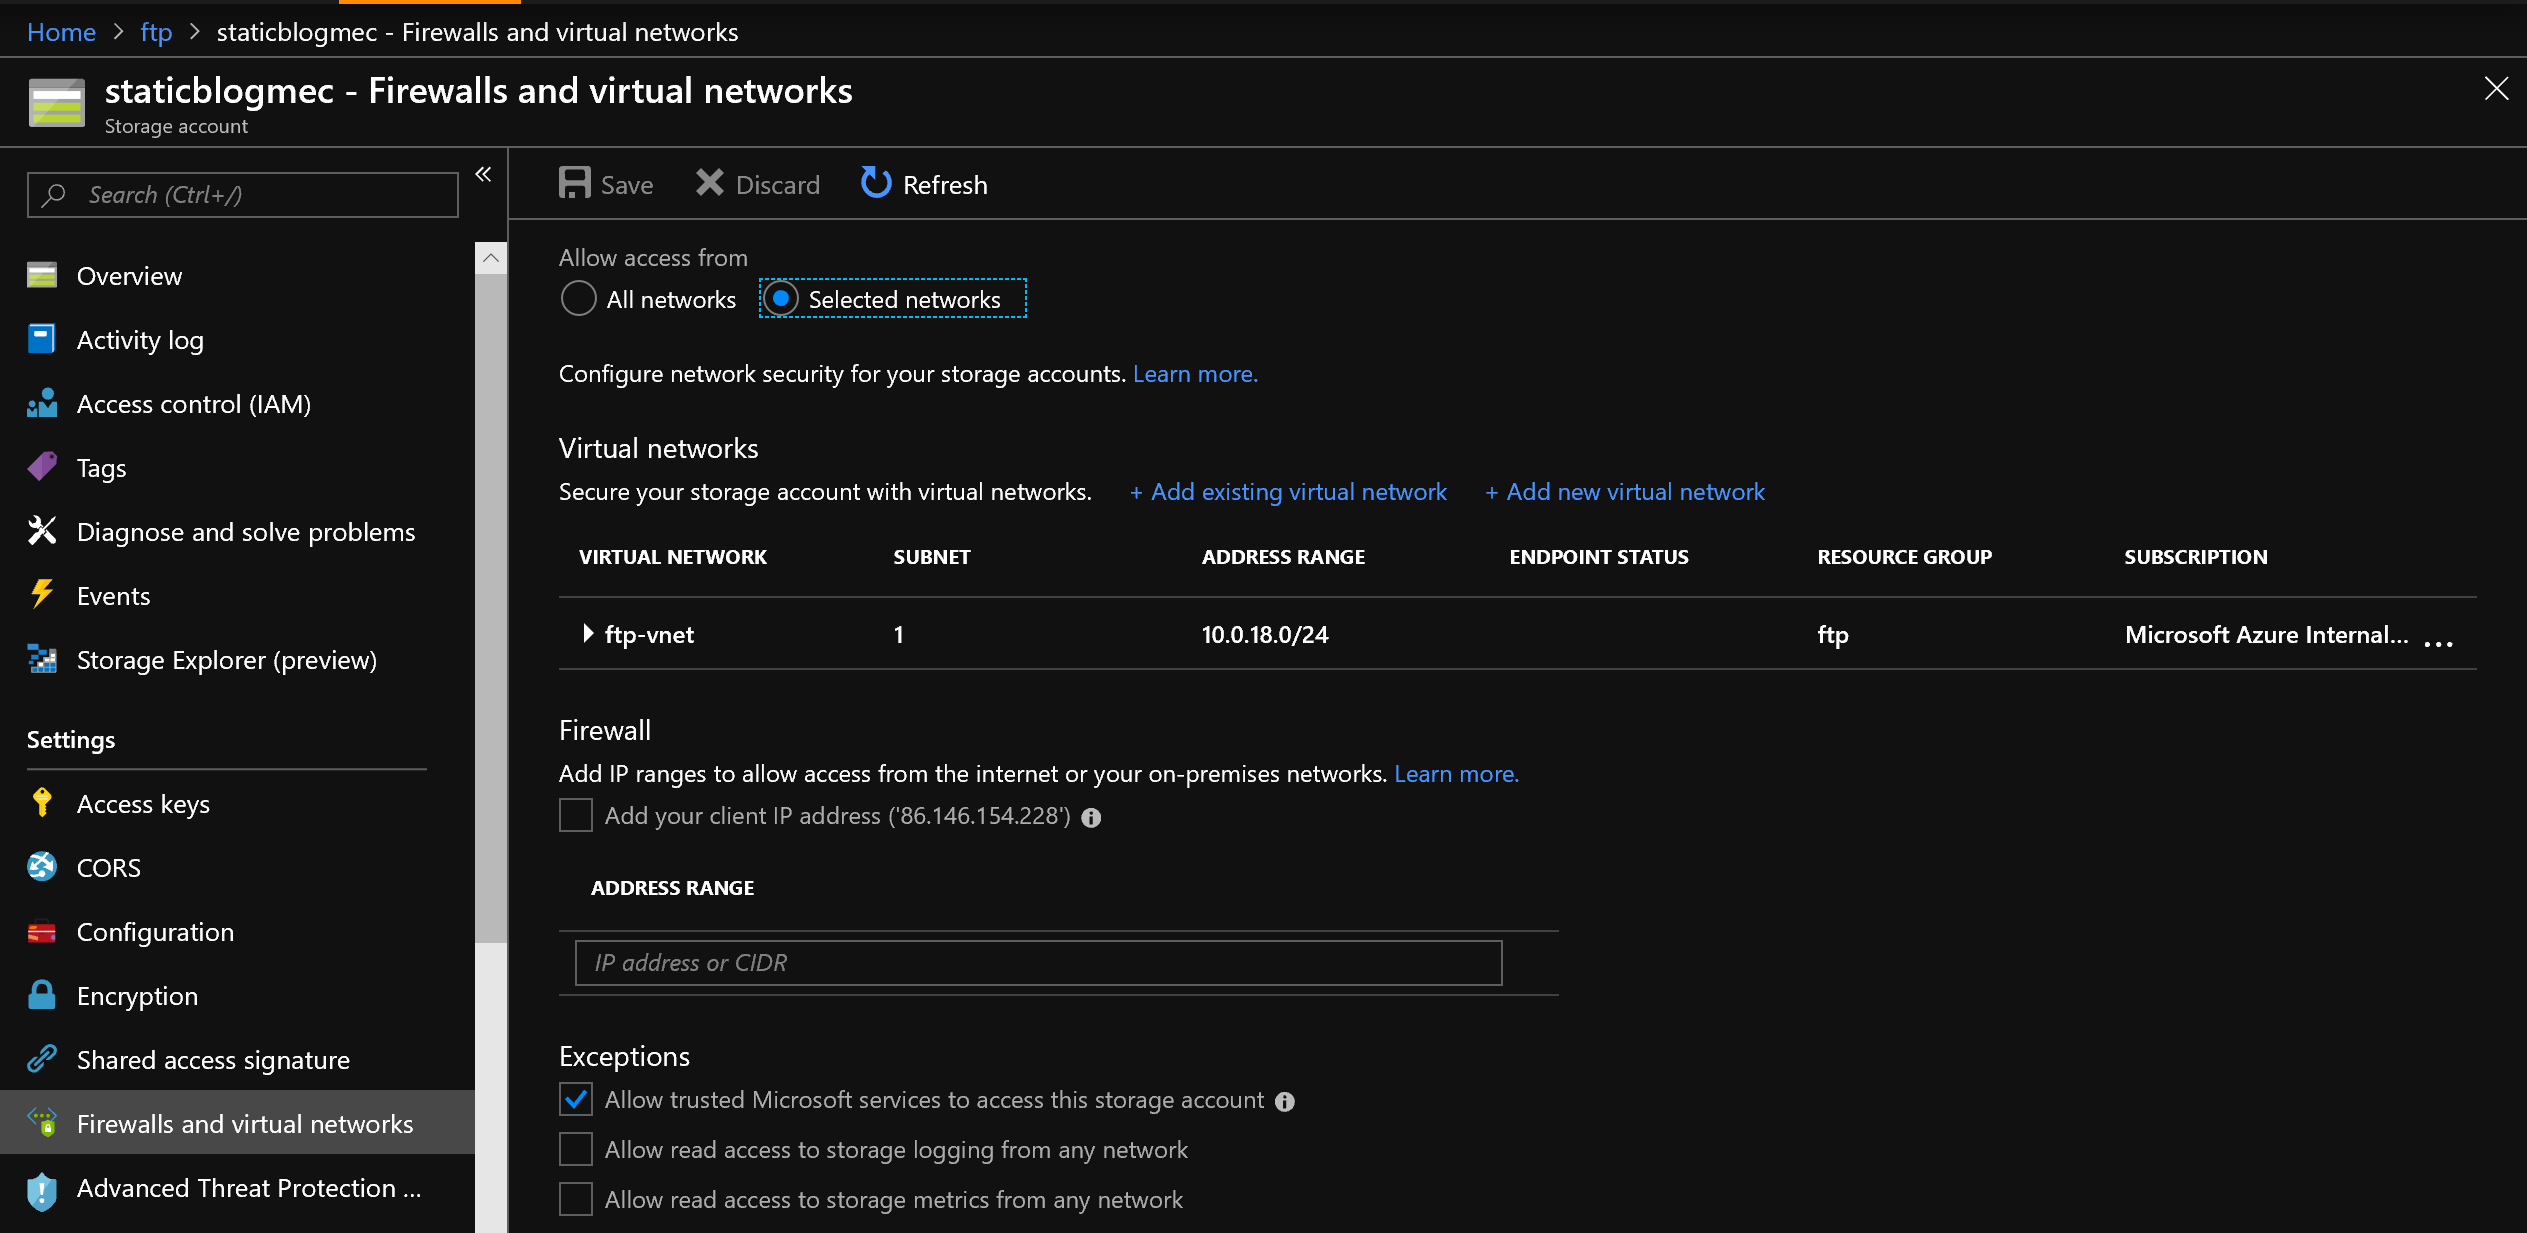
Secure your storage account
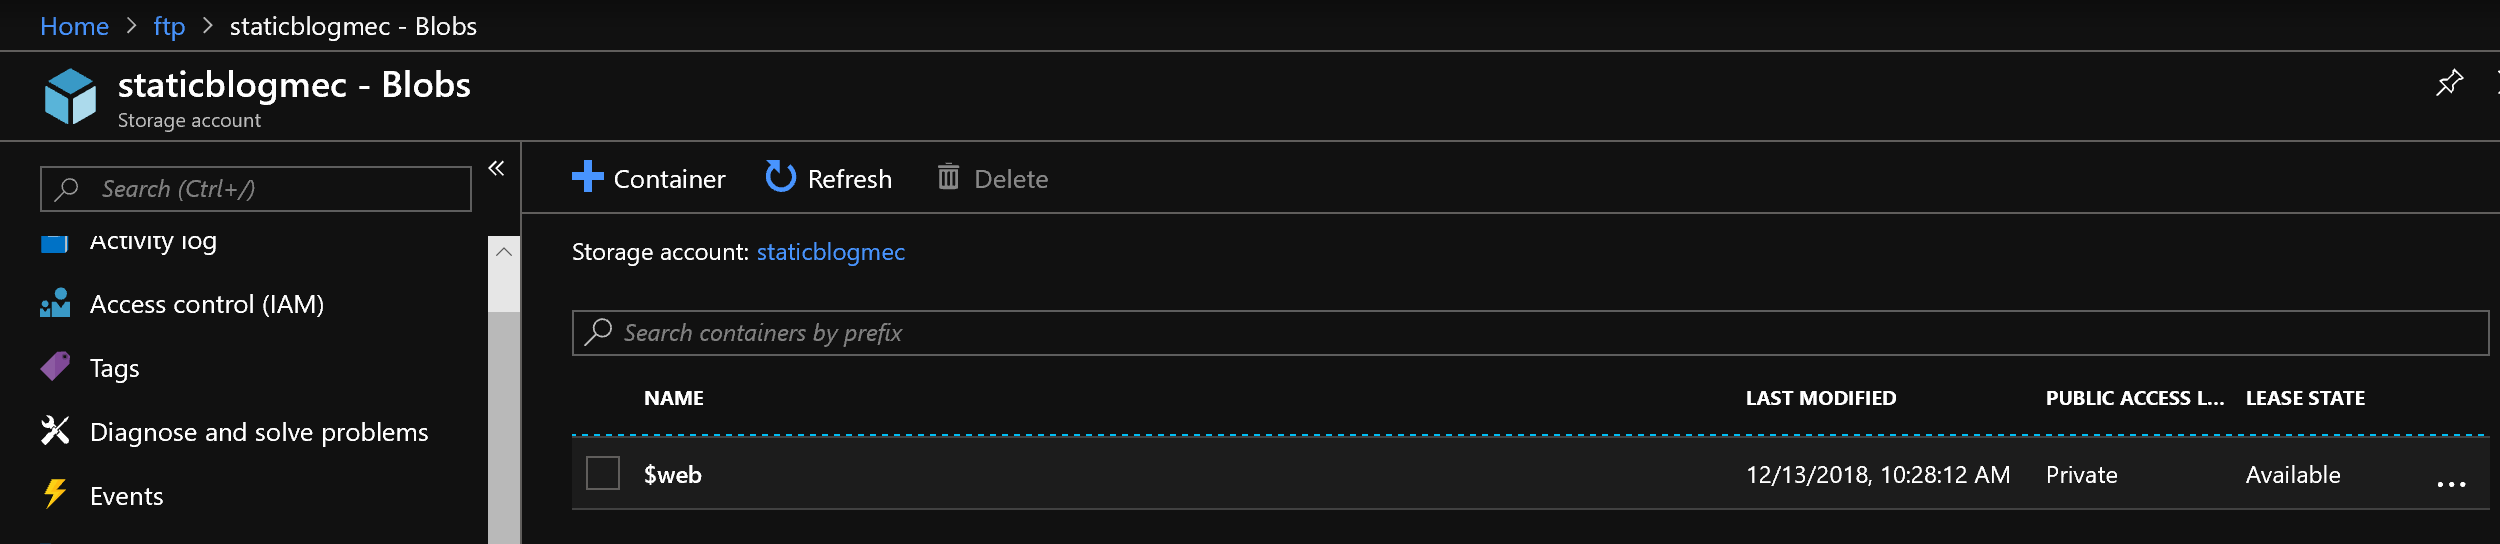
Choose selected networks, and then pick the vnet and subnet you created earlier. Save the settings and then navigate to the $web container that was just created for us. We can see that it is set to private:
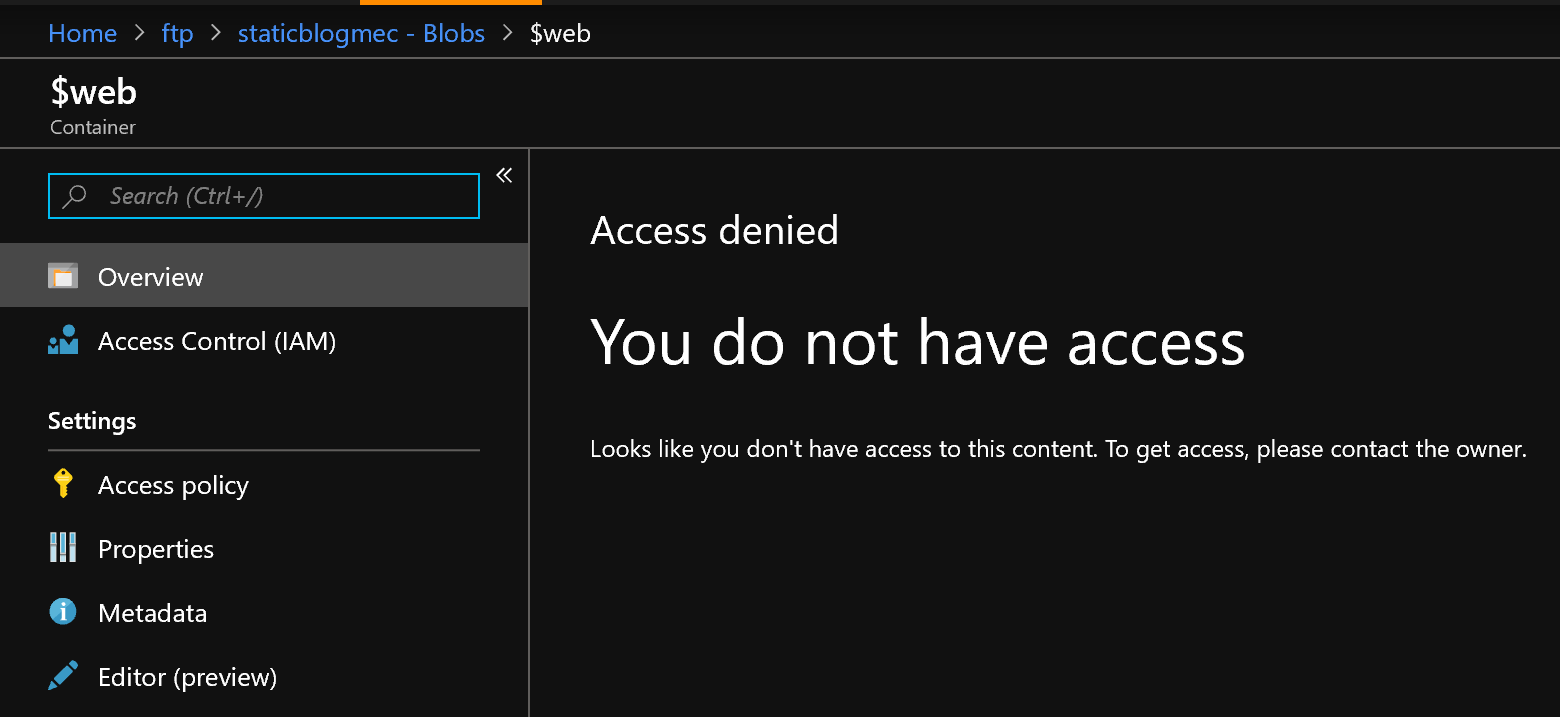
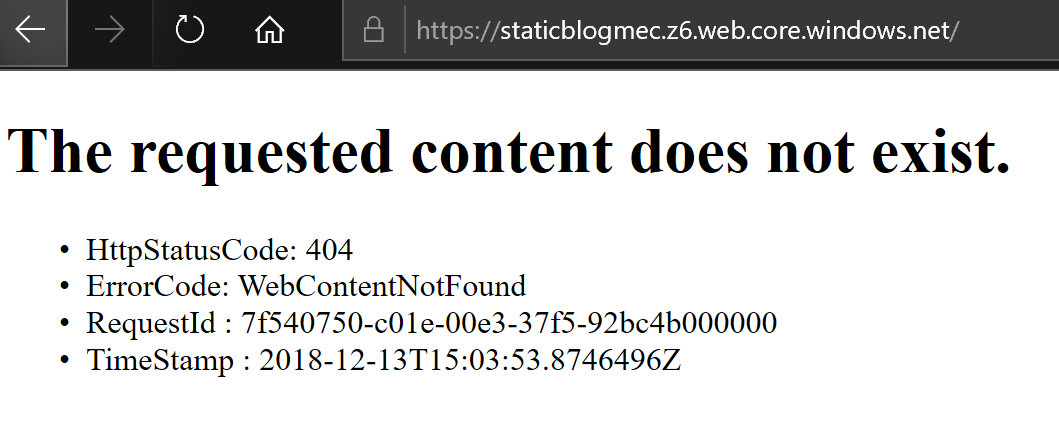
Furthermore, we can’t view contents in the portal, and our primary access point also returns a 404 error:
Great - now let’s simulate a user accessing our content from a VM within our network.
Upload blog content to our $web container
The first thing you need to do is log into the VM you created earlier using RDP. You may need to turn off Internet Security settings once you are in.
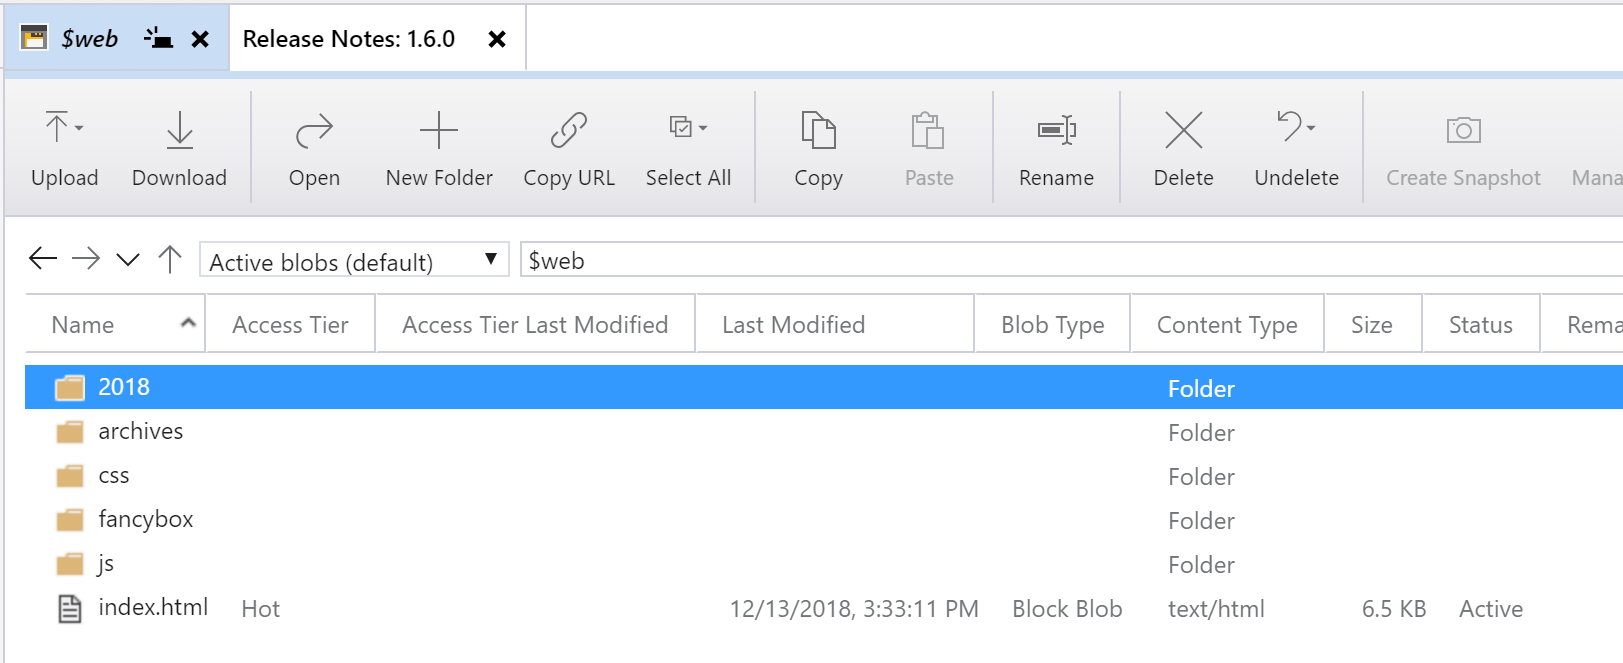
I find the Azure Storage Explorer tool a really nice way of browsing storage accounts. Go ahead and download it, and add your Azure account.
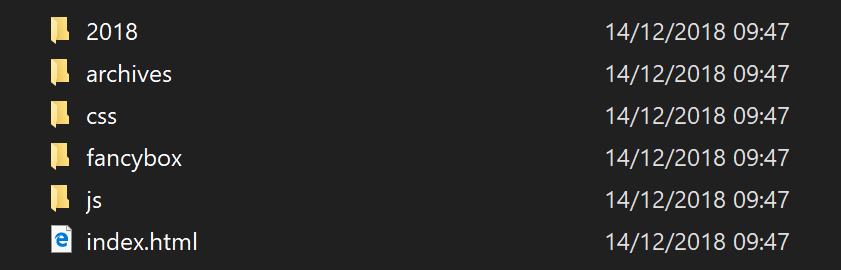
You should now be able to browse to your $web container in your storage account. upload the entire contents of the blog source code you downloaded earlier, making sure that all folders are copied into the root, along with the index.html page:
Now, navigate to your storage endpoint in a new browser window in your VM:
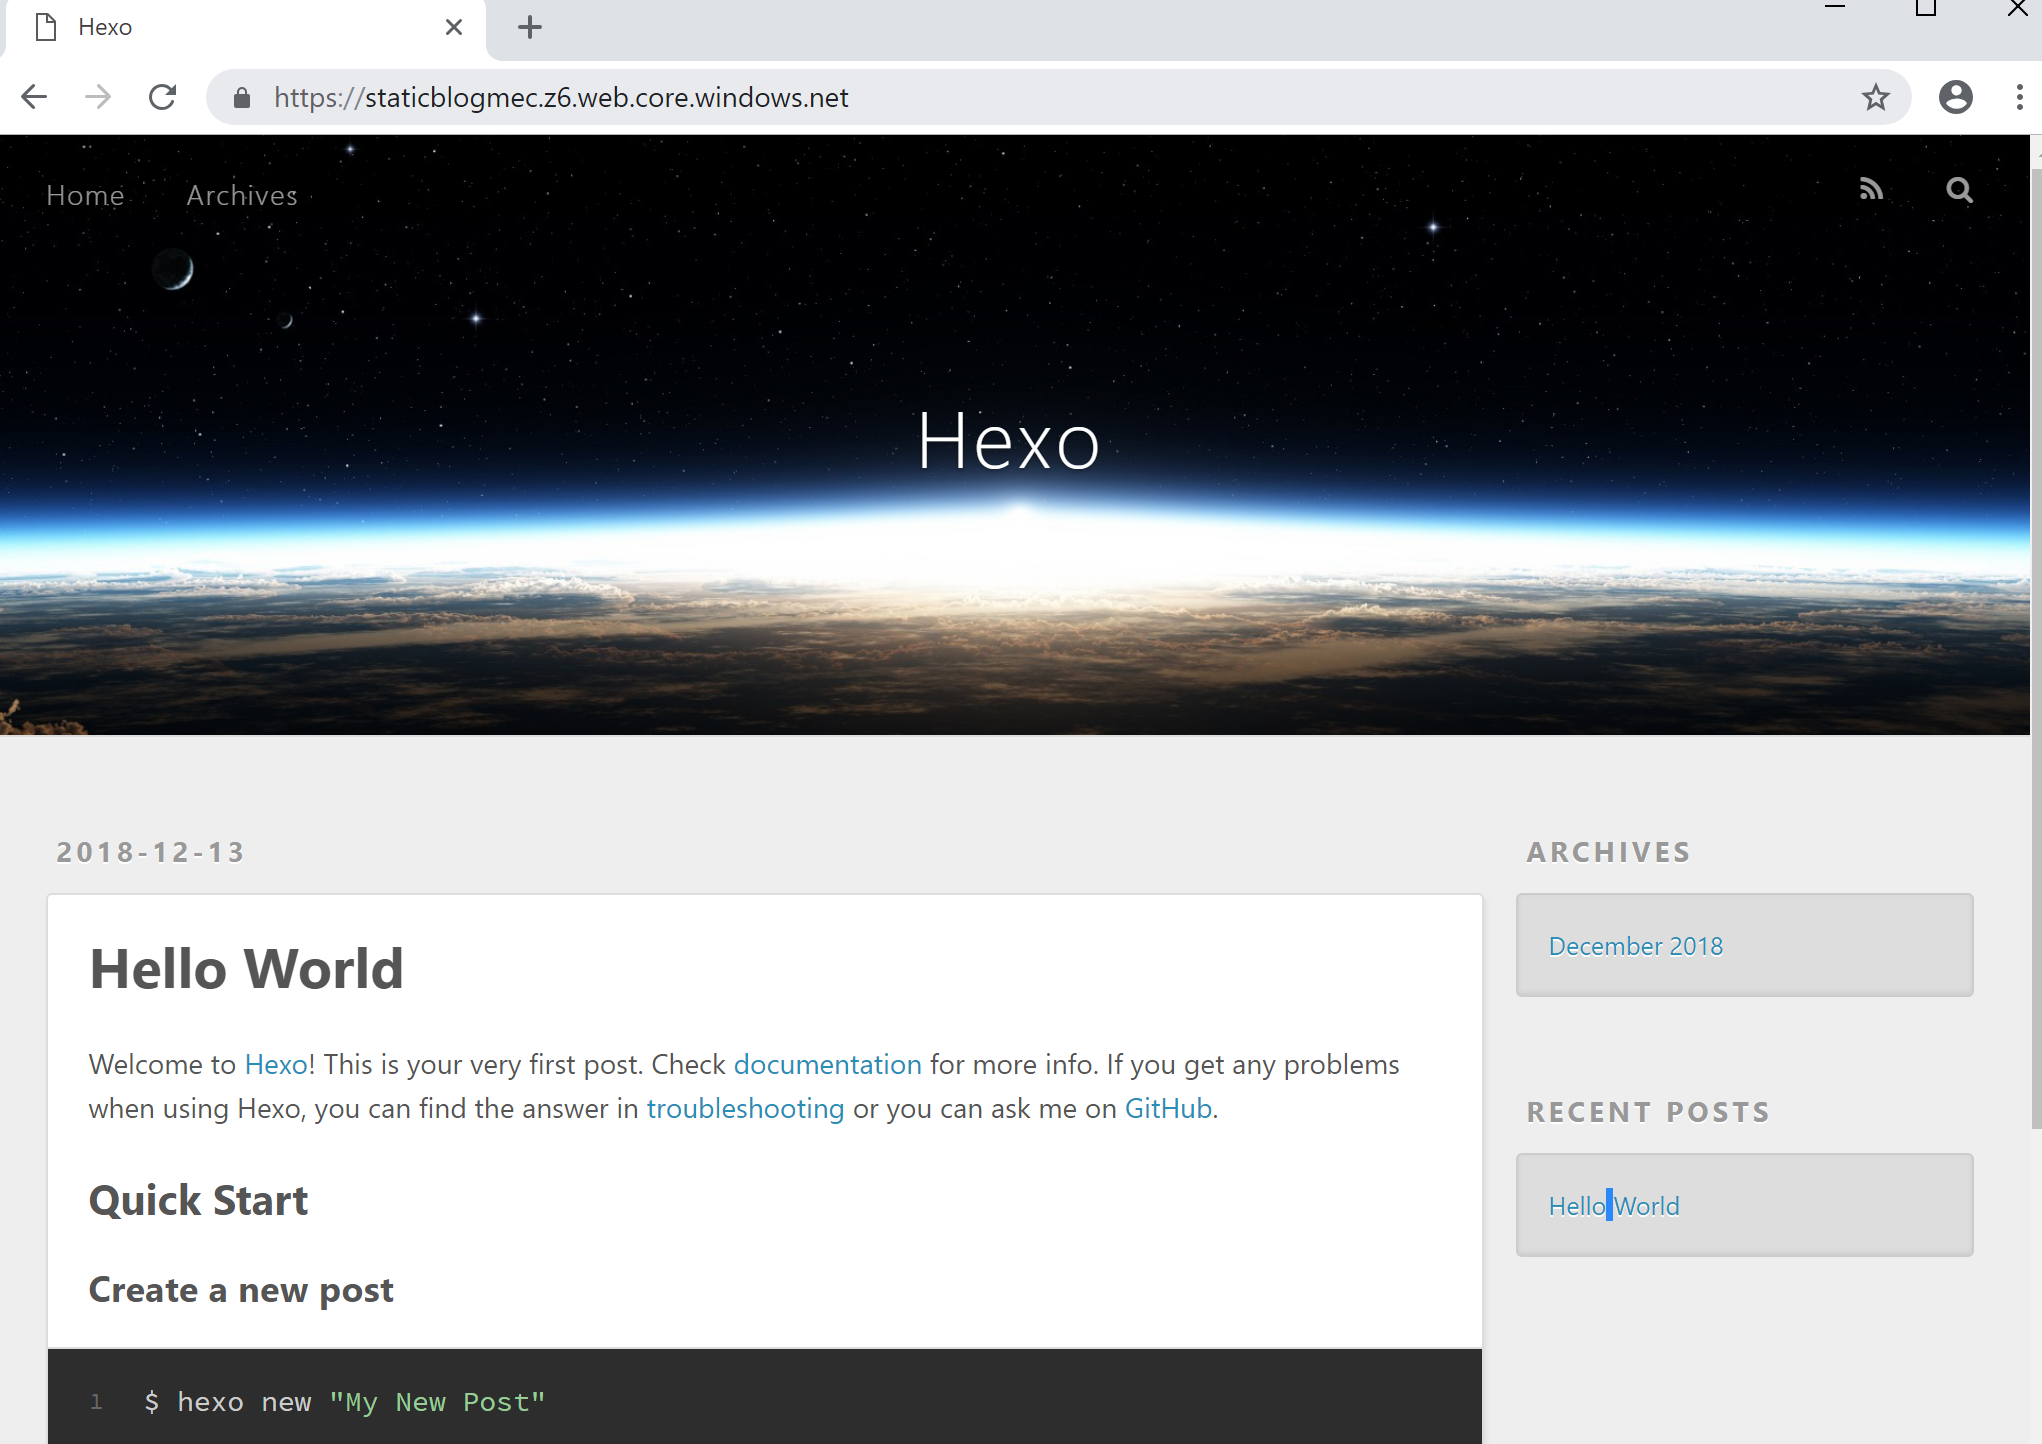
Your newly hosted static site, accessible only from within your VNet. Awesome!
Update 14/12/2018: Continuous integration and deployment
I took this a step further - I want to be able to automatically update my blog whenever I write a new post locally, all with a couple of git commands.
I edit my posts in Sublime Text, but I could also use VS Code - I just like to keep my blog separate from my day to day work, which I normally do in Code.
The blog working directory looks something like this:
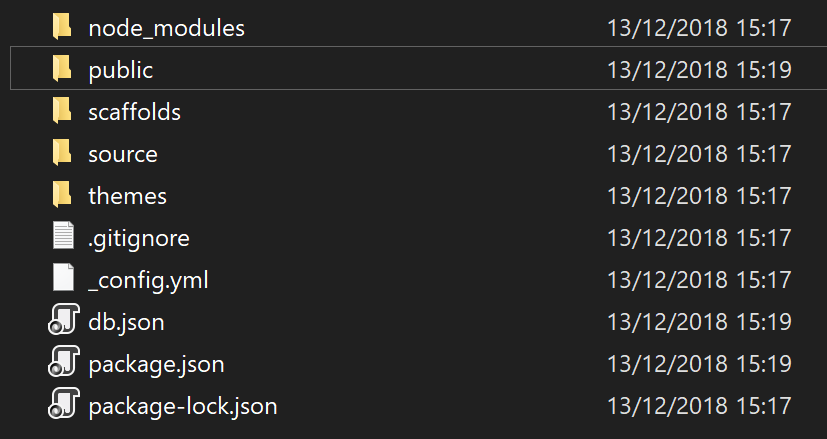
My draft posts are all located in /source/posts and when I am happy with a new post, I issue a Hexo command to generate a deployable version of my blog in the Public folder:
hexo generate
The directory containing my node modules is quite large, and it isn’t necessary for me to keep all of those in source control. I can exclude files and folders by using my .gitignore file.
I am using Azure DevOps Repos and plan to commit my code directly to my master branch; as it is just me, I am unlikely to run into merge issues so complex branching stategies would be a wasted effort here.
Self hosted agent
As our storage account is secured in our virtual network, we cannot use a Microsoft hosted agent to run our build tasks. What we need to do is deploy a self hosted agent onto the VM created earlier. I won’t go into detail on that, but follow the steps outlined in the documentation here. You will also need to make sure you have installed the AzureRM PowerShell module.
Build Pipeline
This is probably the simplest build pipeline I have ever created, and it does the job nicely.
Make sure to Enable continuous integration under the Triggers tab. This means that every time we commit our code to the repo, our build pipeline will automatically kick off.
Also make sure to choose the agent pool that contains your self hosted agent, otherwise the build will fail.
Add a single task to the agent phase - ‘AzureBlob File Copy’ and make sure to target your storage account and static site container ($web). Also, we only want to copy files from our Public folder so make sure to specify that as the SourcePath.
The YAML looks like this:
steps:

- task: AzureFileCopy@2

  displayName: 'AzureBlob File Copy'

  inputs:

    SourcePath: public


    azureSubscription: 'Microsoft Azure Internal Consumption (********-****-****-****-************)'


    Destination: AzureBlob


    storage: staticblogmec


    ContainerName: '$web'


  continueOnError: false
Equally you can use the built in designer, but be sure to use the Preview version of the Azure File Copy task, as v1 doesn’t support static site container naming convention (it doesn’t like special characters).
Save your build definition and go back to your desktop. In a command prompt, type:
hexo new "My First Blog Post"
This creates an empty post in your source/posts folder. Open it in your favourite text editor and add some content, and then issue the command to generate the necessary html files in our public folder.
hexo generate
Optionally, you can preview your changes:
hexo server
Once you’re happy, push changes to your remote repo:
git add -A
git commit -m "First post"
git push
You should see the build pipeline kick off in Azure DevOps, and then the files updated in your storage account in a couple of minutes.