Setting up GitHub Enterprise
Recently, I went through the process of setting up GitHub Enterprise Server 3, and I thought I would share my experience. I have done this before, but now that GitHub Enterprise Server supports Actions and Packages, I wanted to set that up, so I have a handy demo environment when I need it.
This post isn’t exhaustive - you can refer to the documentation any time for further information.
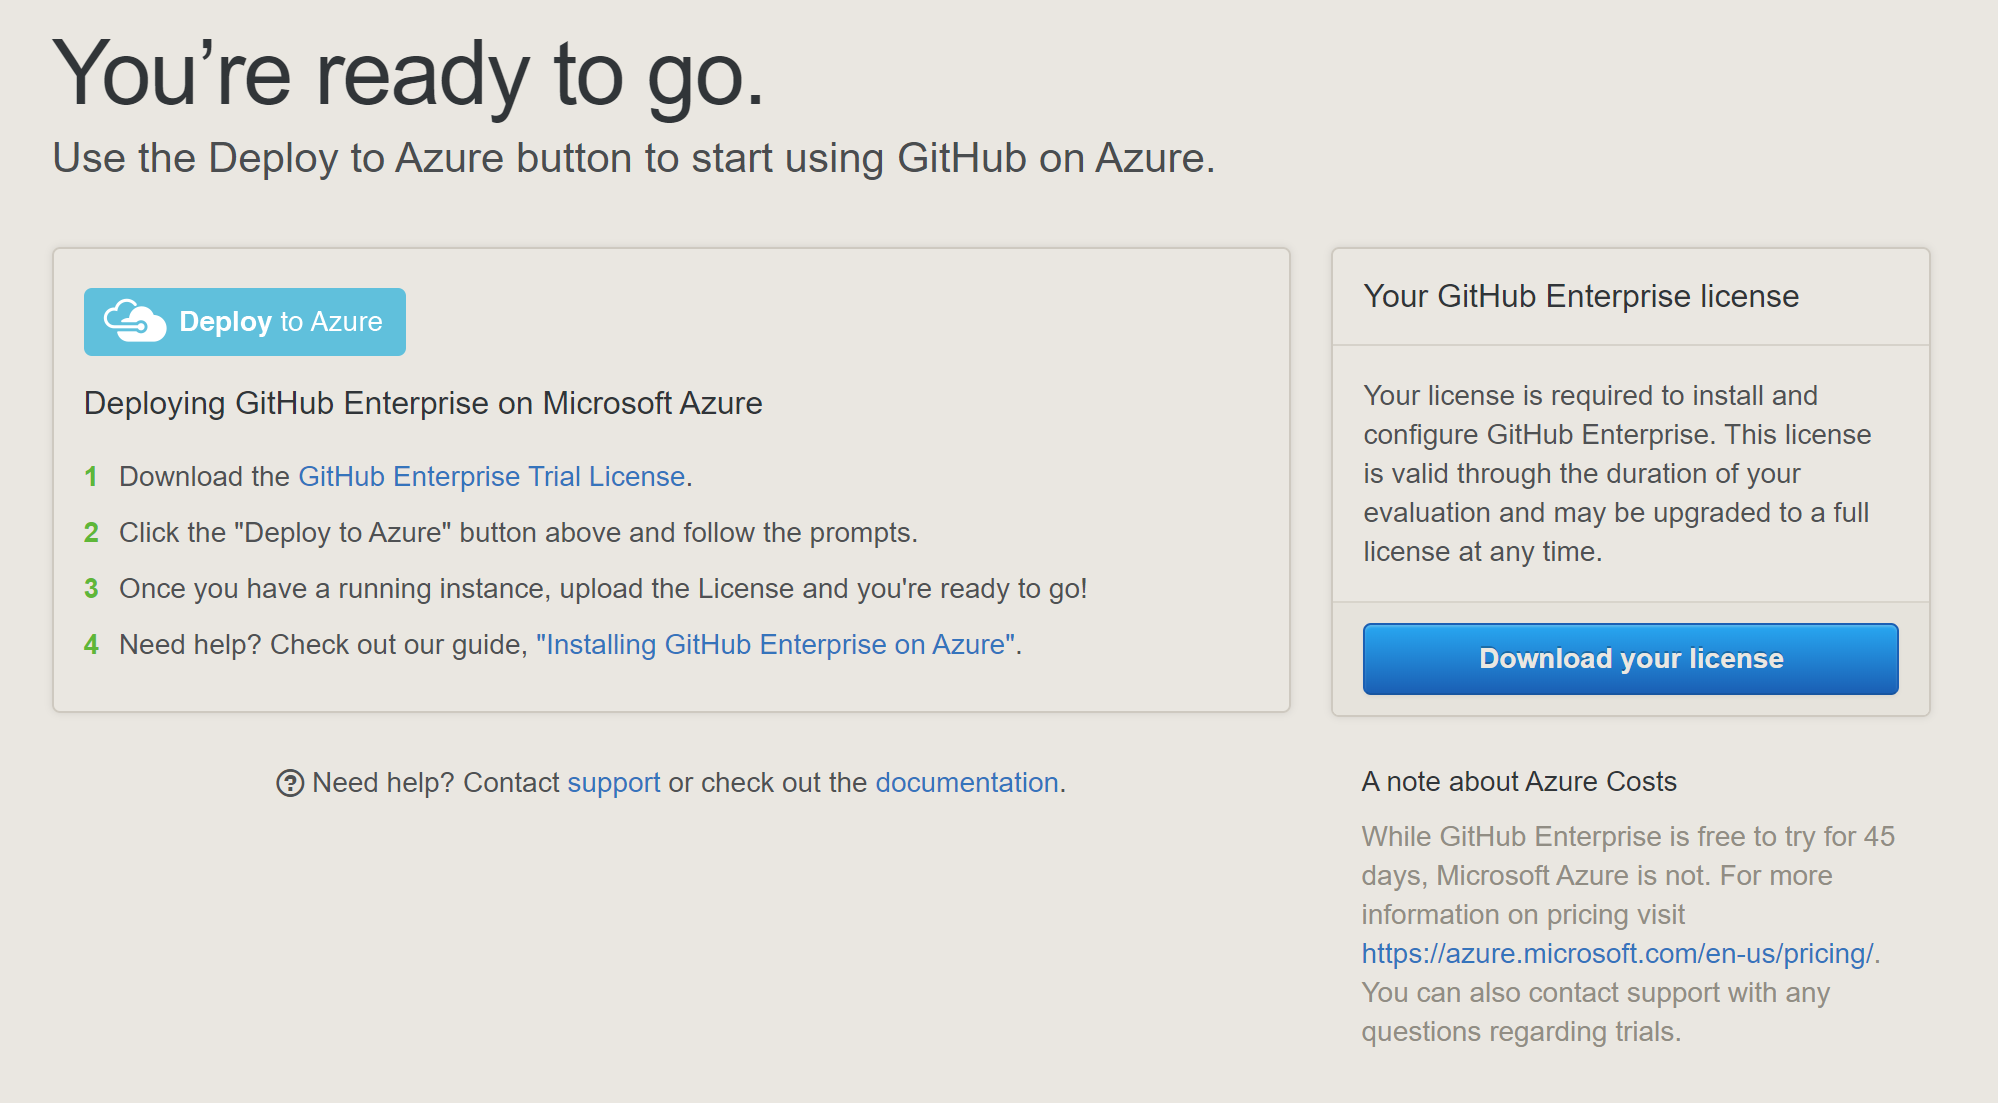
Firstly, it is really easy to get started. If you want to evaluate it, you can grab a 45 day trial license from here. When you do this, you can select your preferred Cloud provider (it’s obviously Azure, right?!) which will generate a really handy “deploy to ..” link. What this does is (in the case of Azure) is generate an Azure Resource Manager (ARM) deployment for you, which has all the resources you need to run GitHub Enterprise, including a VM, virtual network and public IP. Remember - the trial license is free, but the resources in Azure are not - so keep that in mind when choosing the VM size!
Now, in production, this isn’t the way to go. Likely, you’ll already have a virtual network and subnet identified in which you want to put your GitHub server, and you may also want to keep all traffic internal to your own network, rather than have users traverse the internet. Perhaps I’ll cover that in a later post, but this is the quick and dirty way of getting up and running on a public endpoint for evaluation or demo purposes.
Setup
Once the resources are done deploying, you can navigate to your GitHub Server to continue setup. Locate the newly created VM, find the DNS name and copy it into a new browser window:
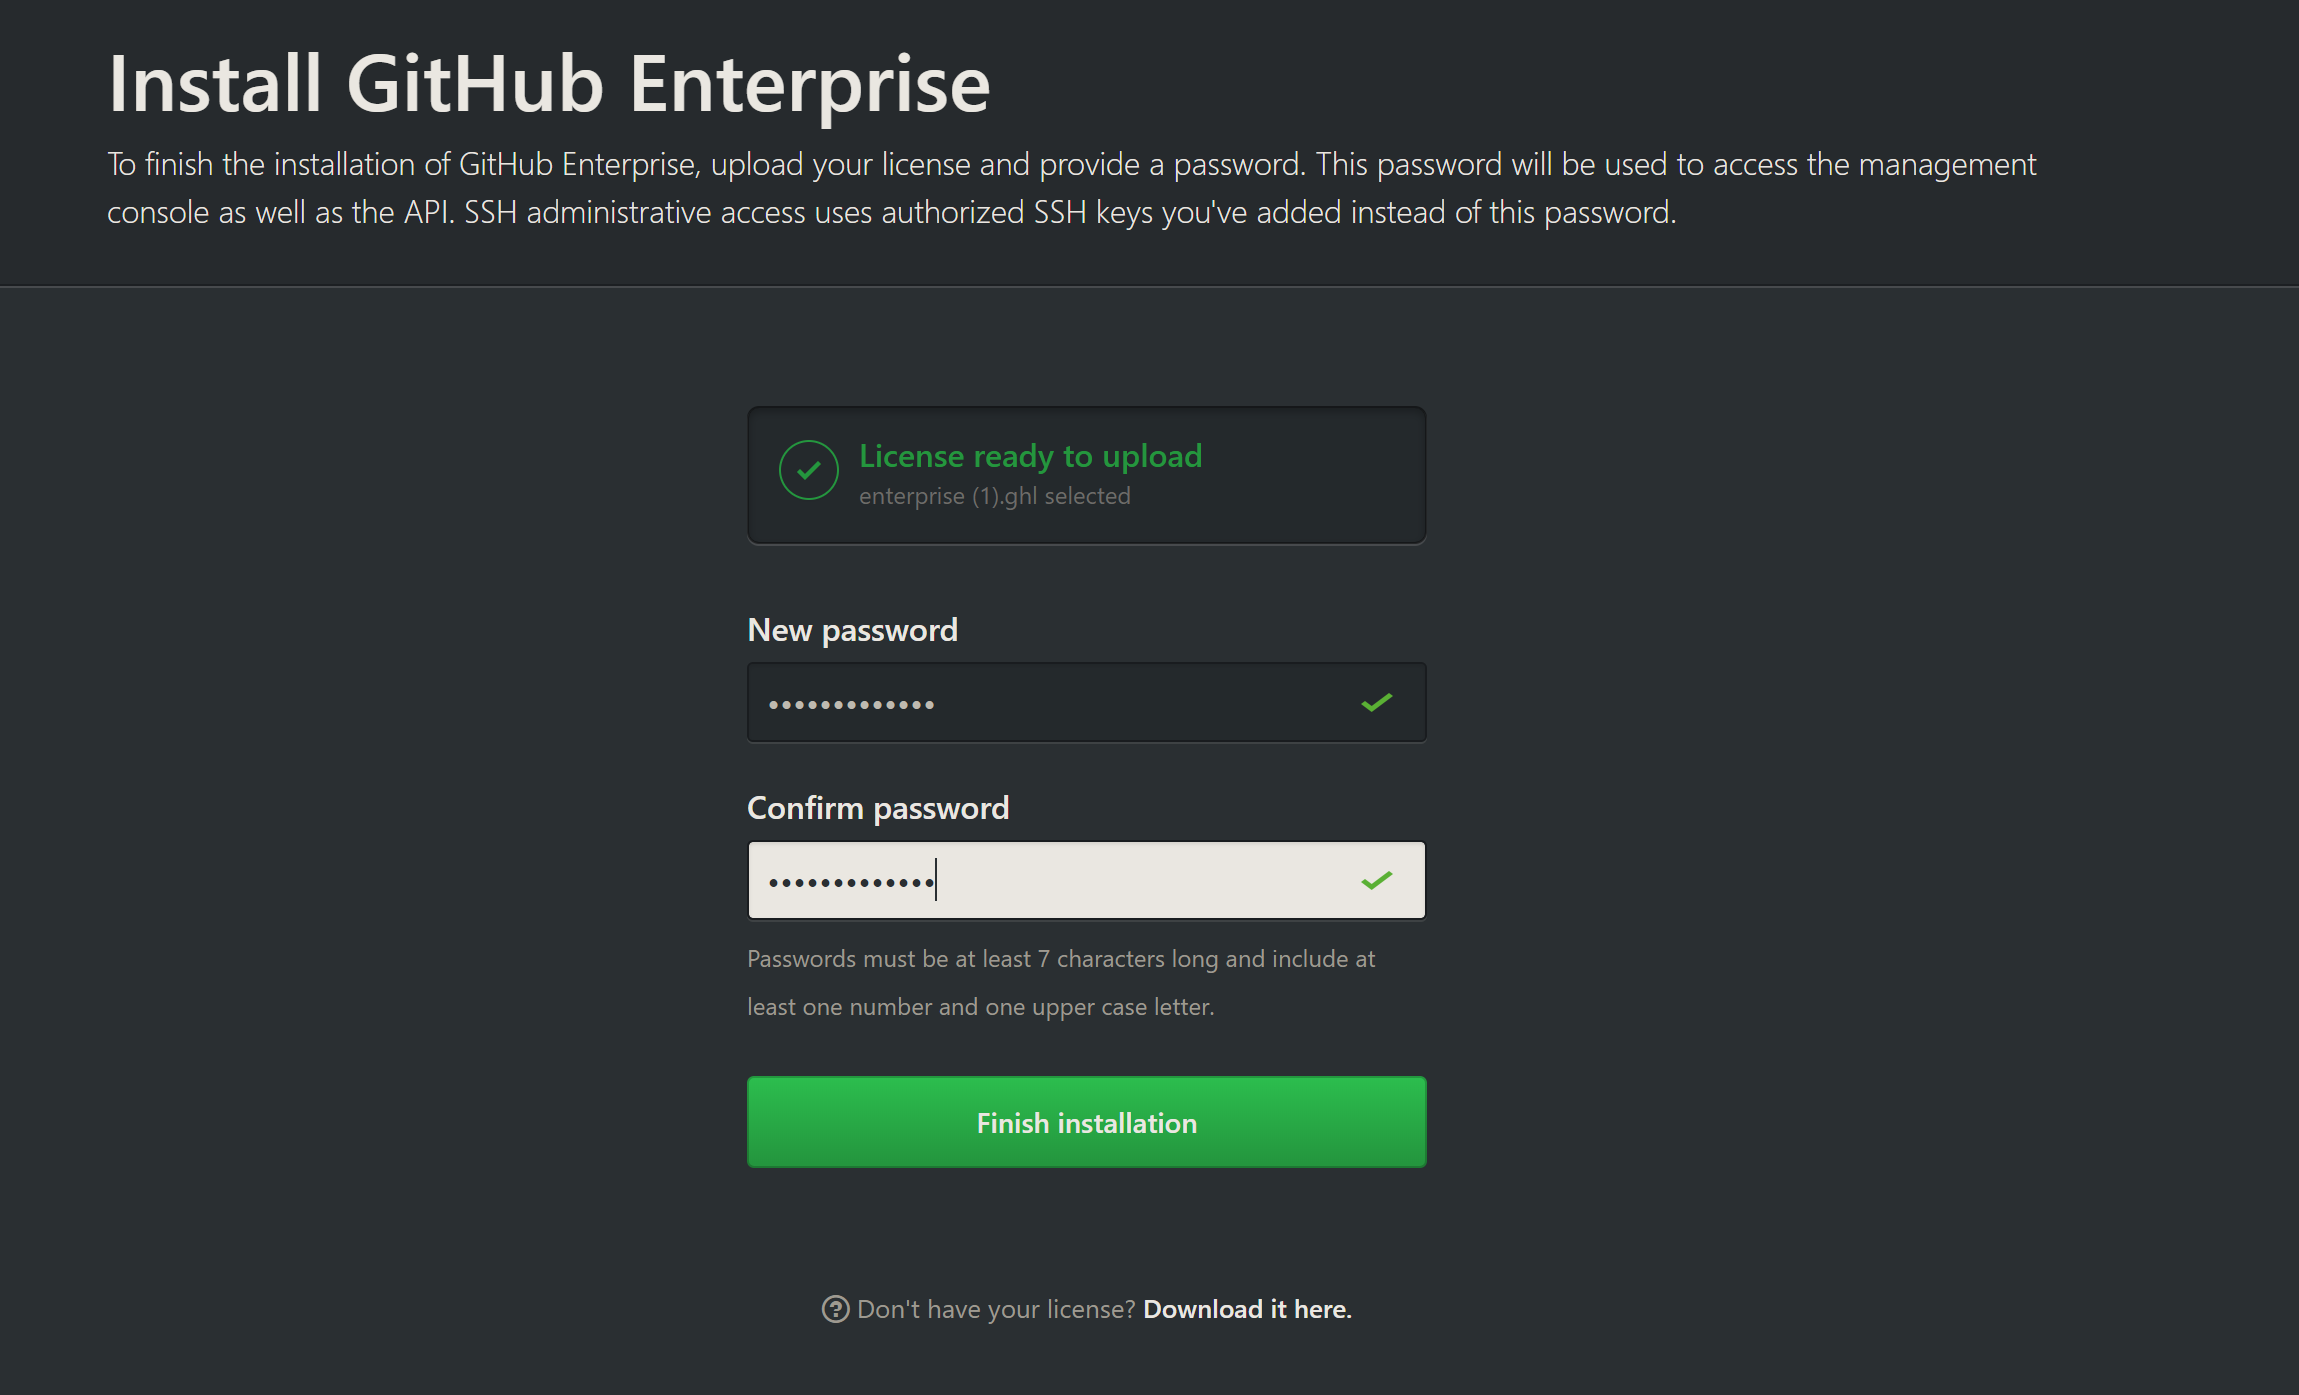
Ignore any SSL warnings and proceed to upload your license file (if you didn’t save it, check your email or click the link at the bottom for advice on getting access to it).
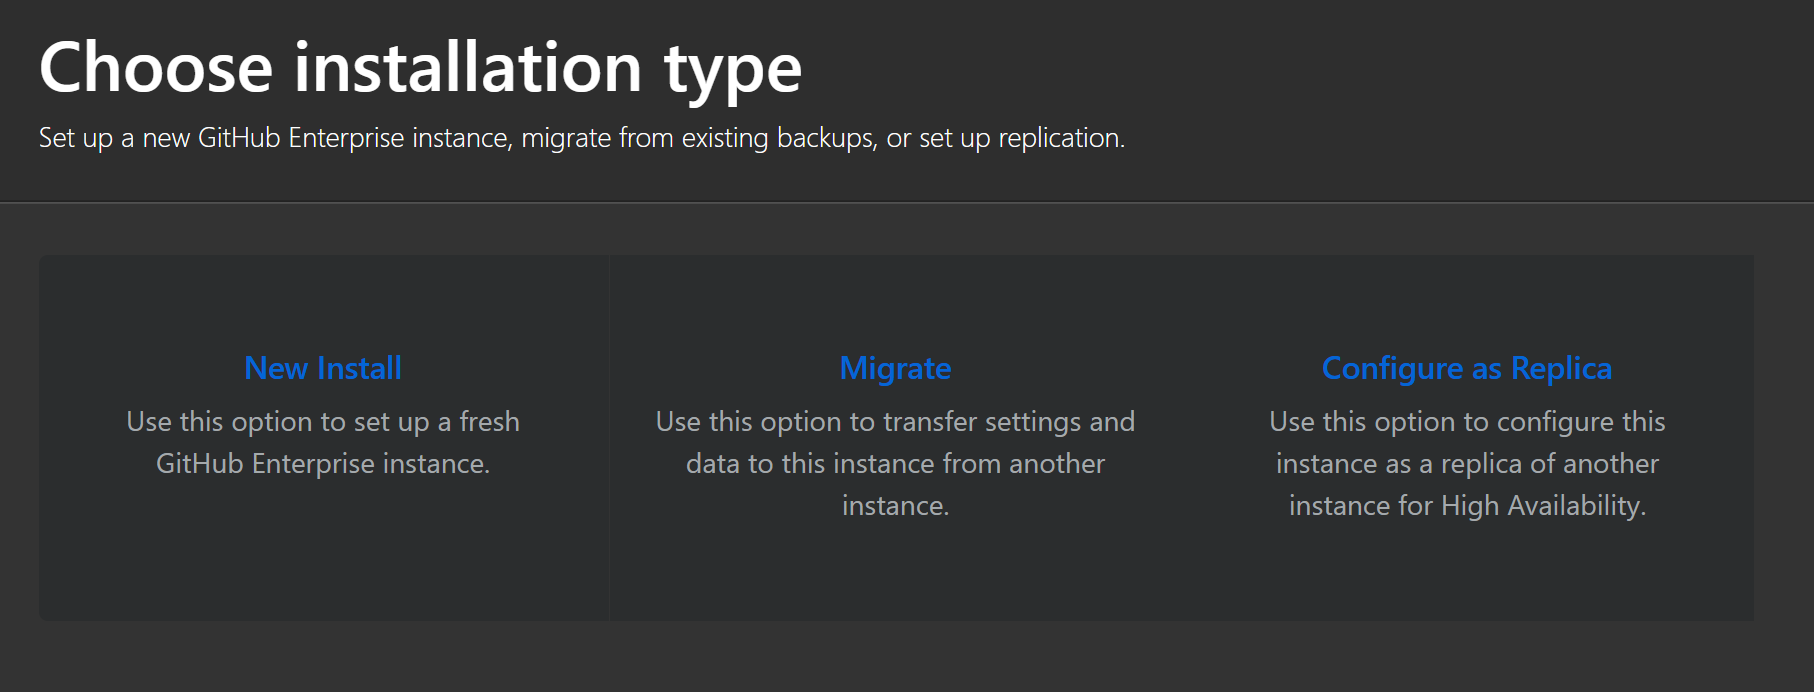
Choose a New Install from the next screen.
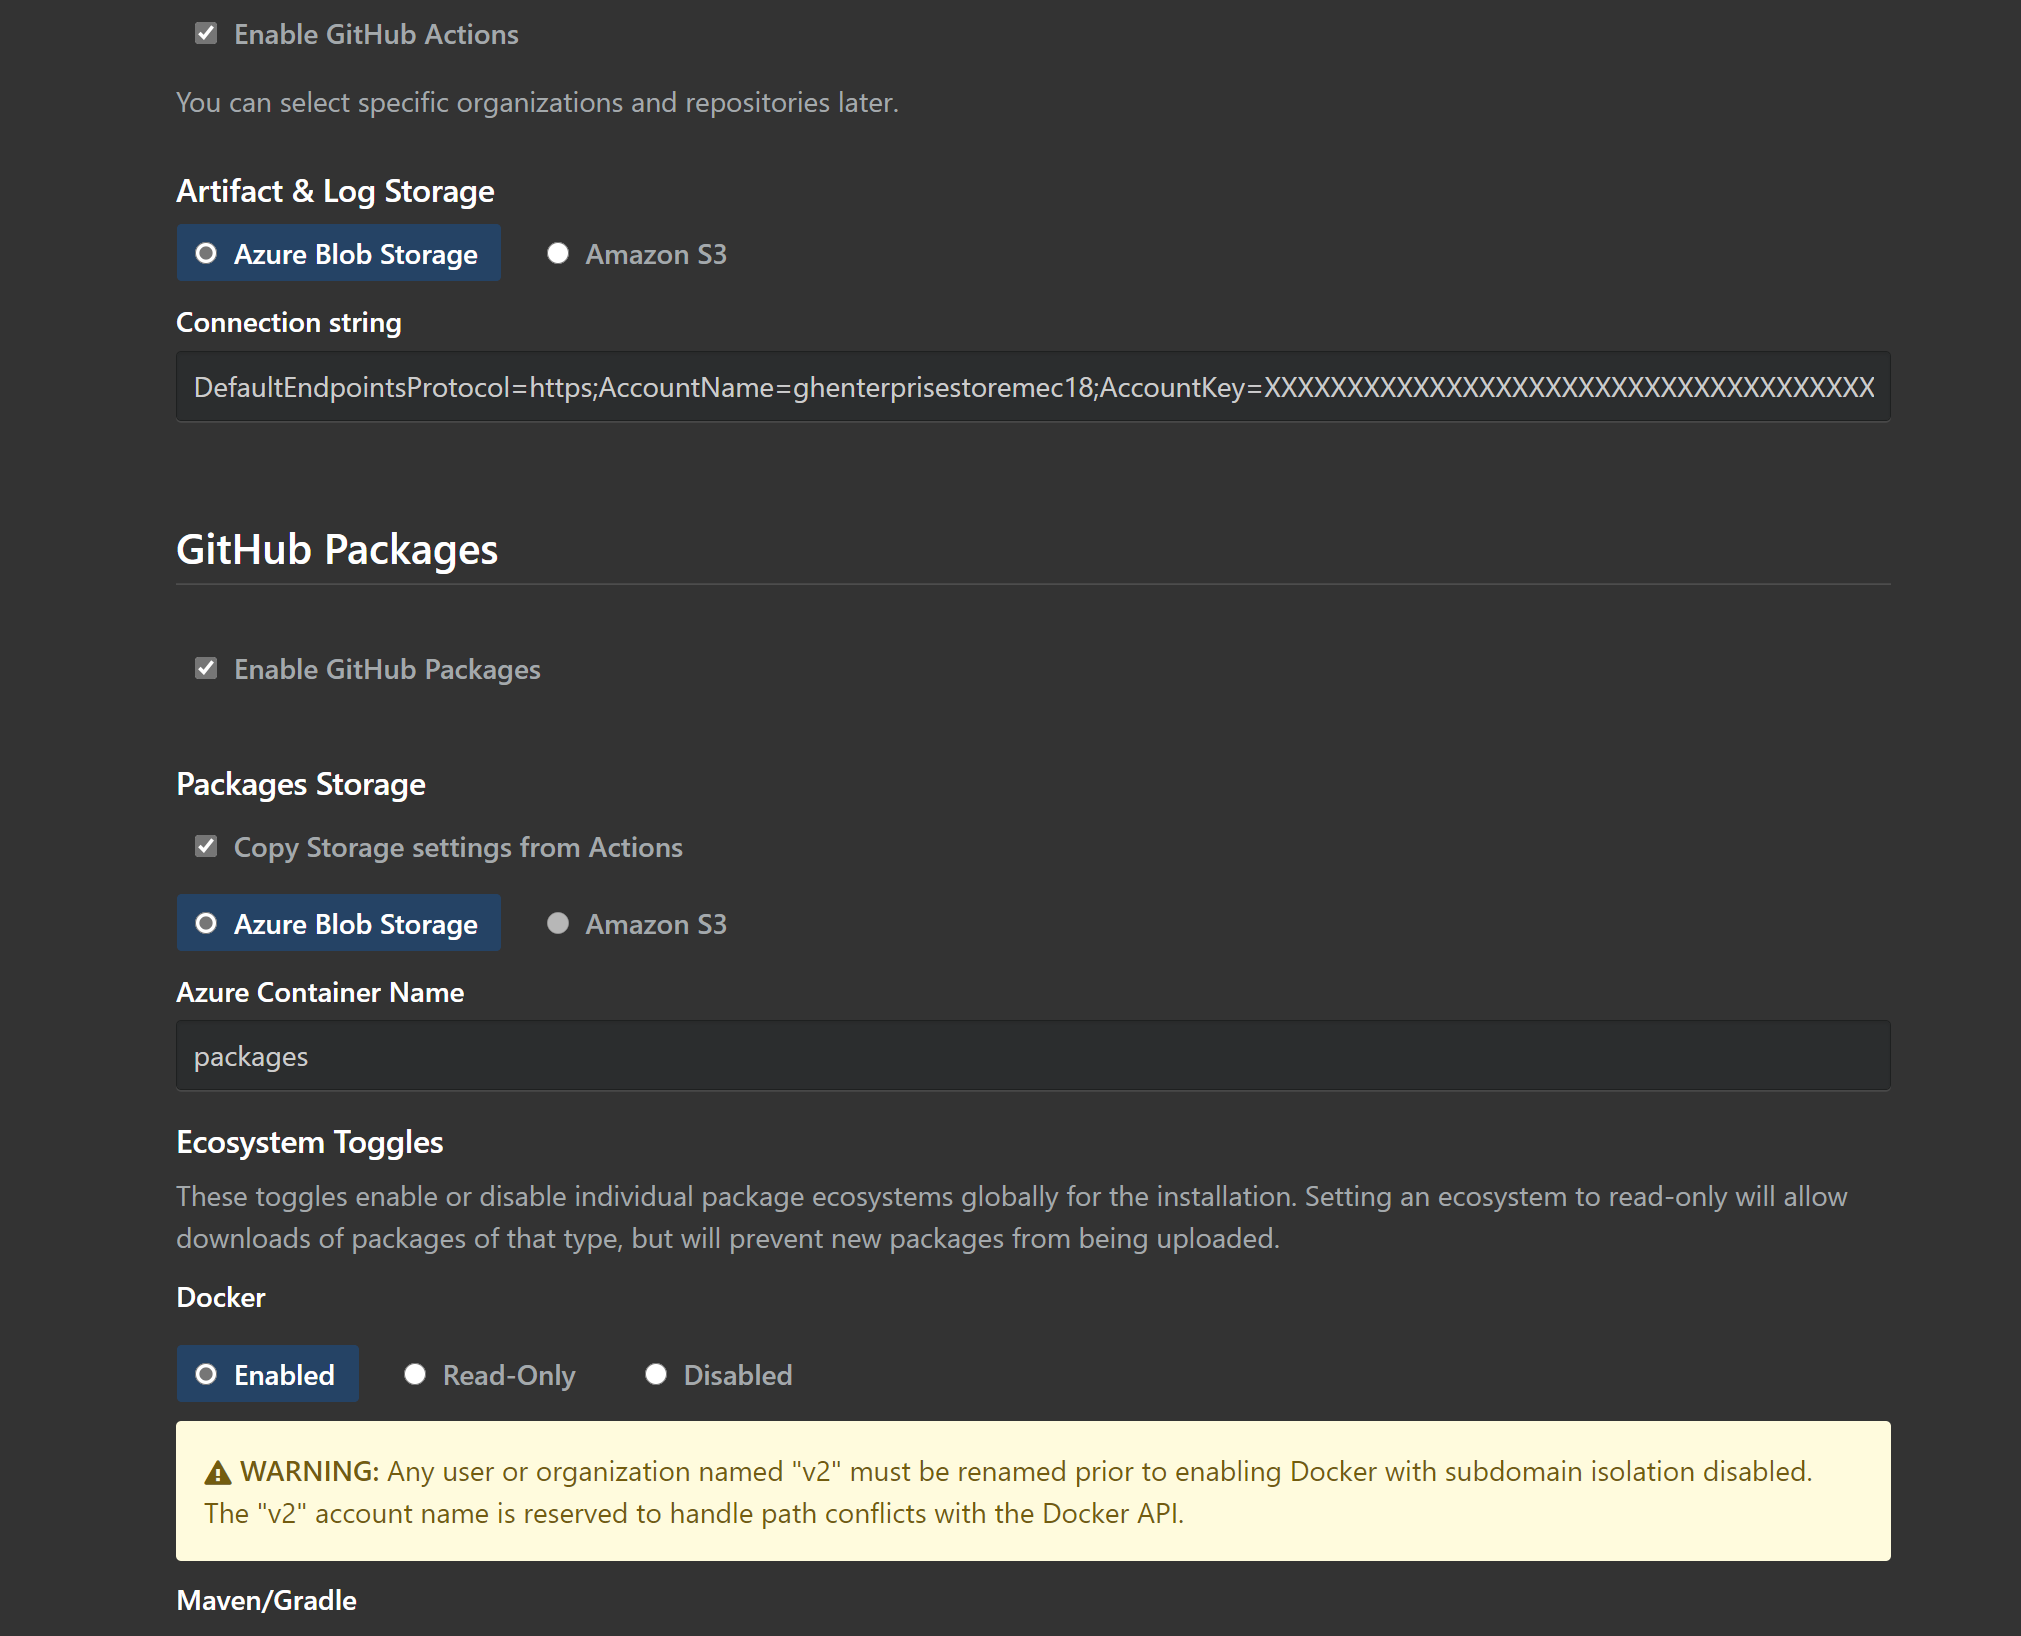
On the next screen, we can enable Actions and Packages. Leave the Hostname as it is for now - we can update that later.
Back in the Azure portal, create a new Storage Account. You can use the below command to do this for you in Cloud Shell. I’m going to put mine in the same resource group as my GitHub server VM.
az storage account create -g gh-enterprise -n ghenterprisestoremec18 -l westeurope --sku Standard_RAGRS --kind StorageV2
Note: I chose read access globally redundant storage, but for a demo you could just use Standard_LRS.
Once created, copy the connection string for your storage account which will be visible once you select Show keys.
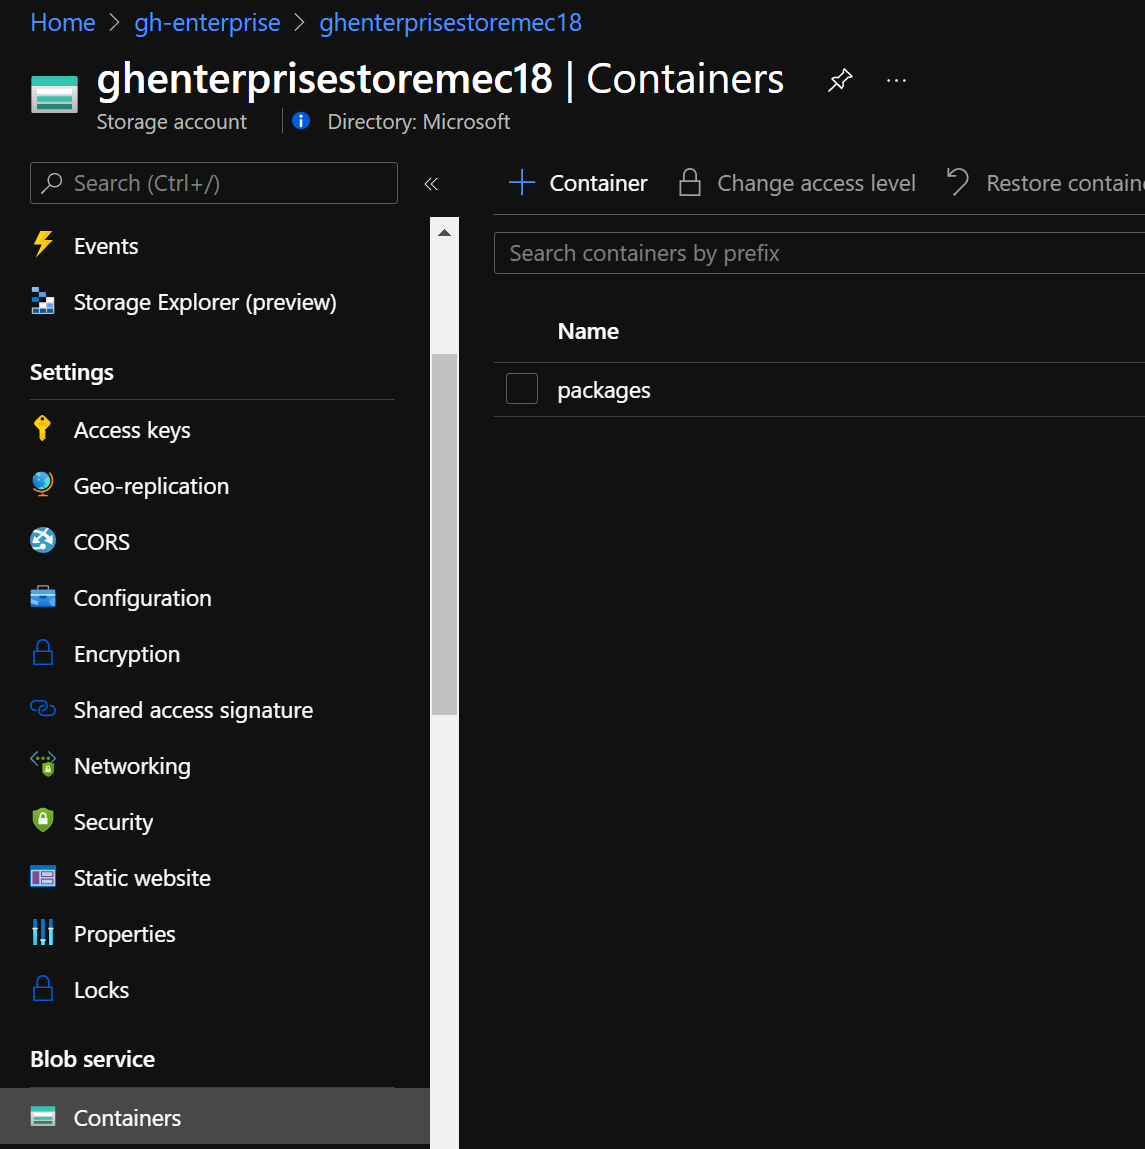
Next, create a new blob container. This will be for storing our packages. I called mine.. packages!
Back on the GitHub Enterprise set up page, paste in the connection string and your container name in the relevant boxes. You can select to copy the connection string for Packages.
Leave all the remaining options as they are.
My installation session timed out whilst making a coffee, so I had to log back in and finish the setup from the general admin screen. No problem. Let’s pick it up with creating the admin account.
Visit your new instance
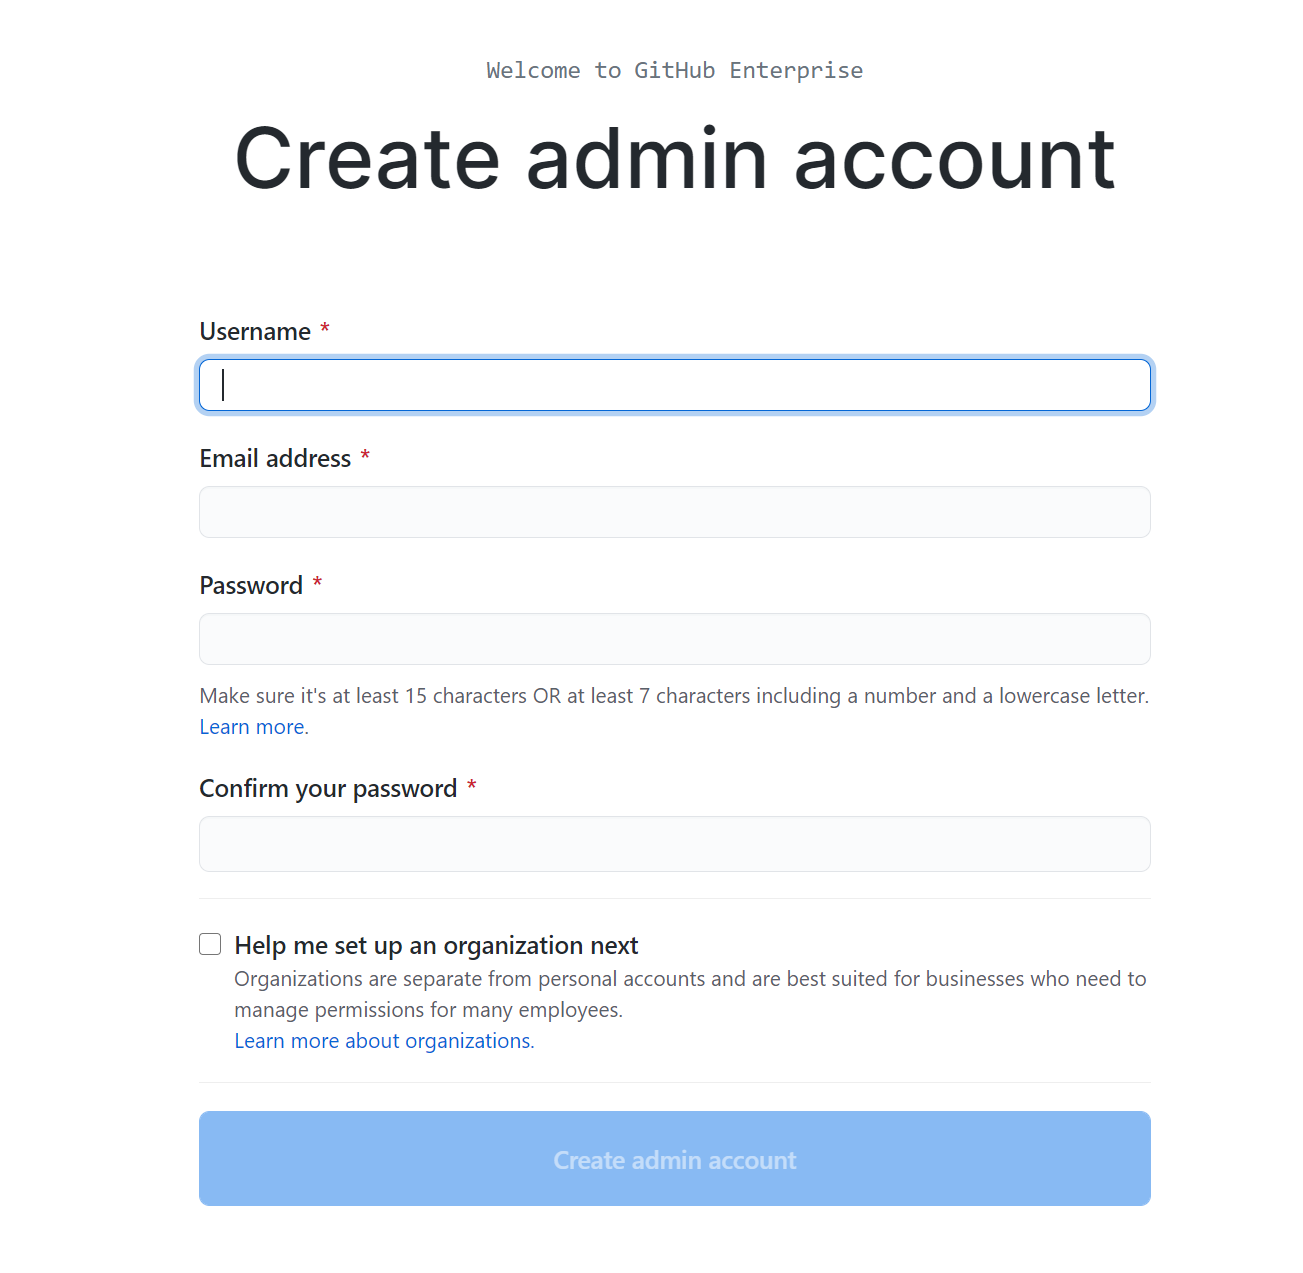
You’ll now be prompted to create an admin account. Go ahead and do that and check the button to set up an organisation.
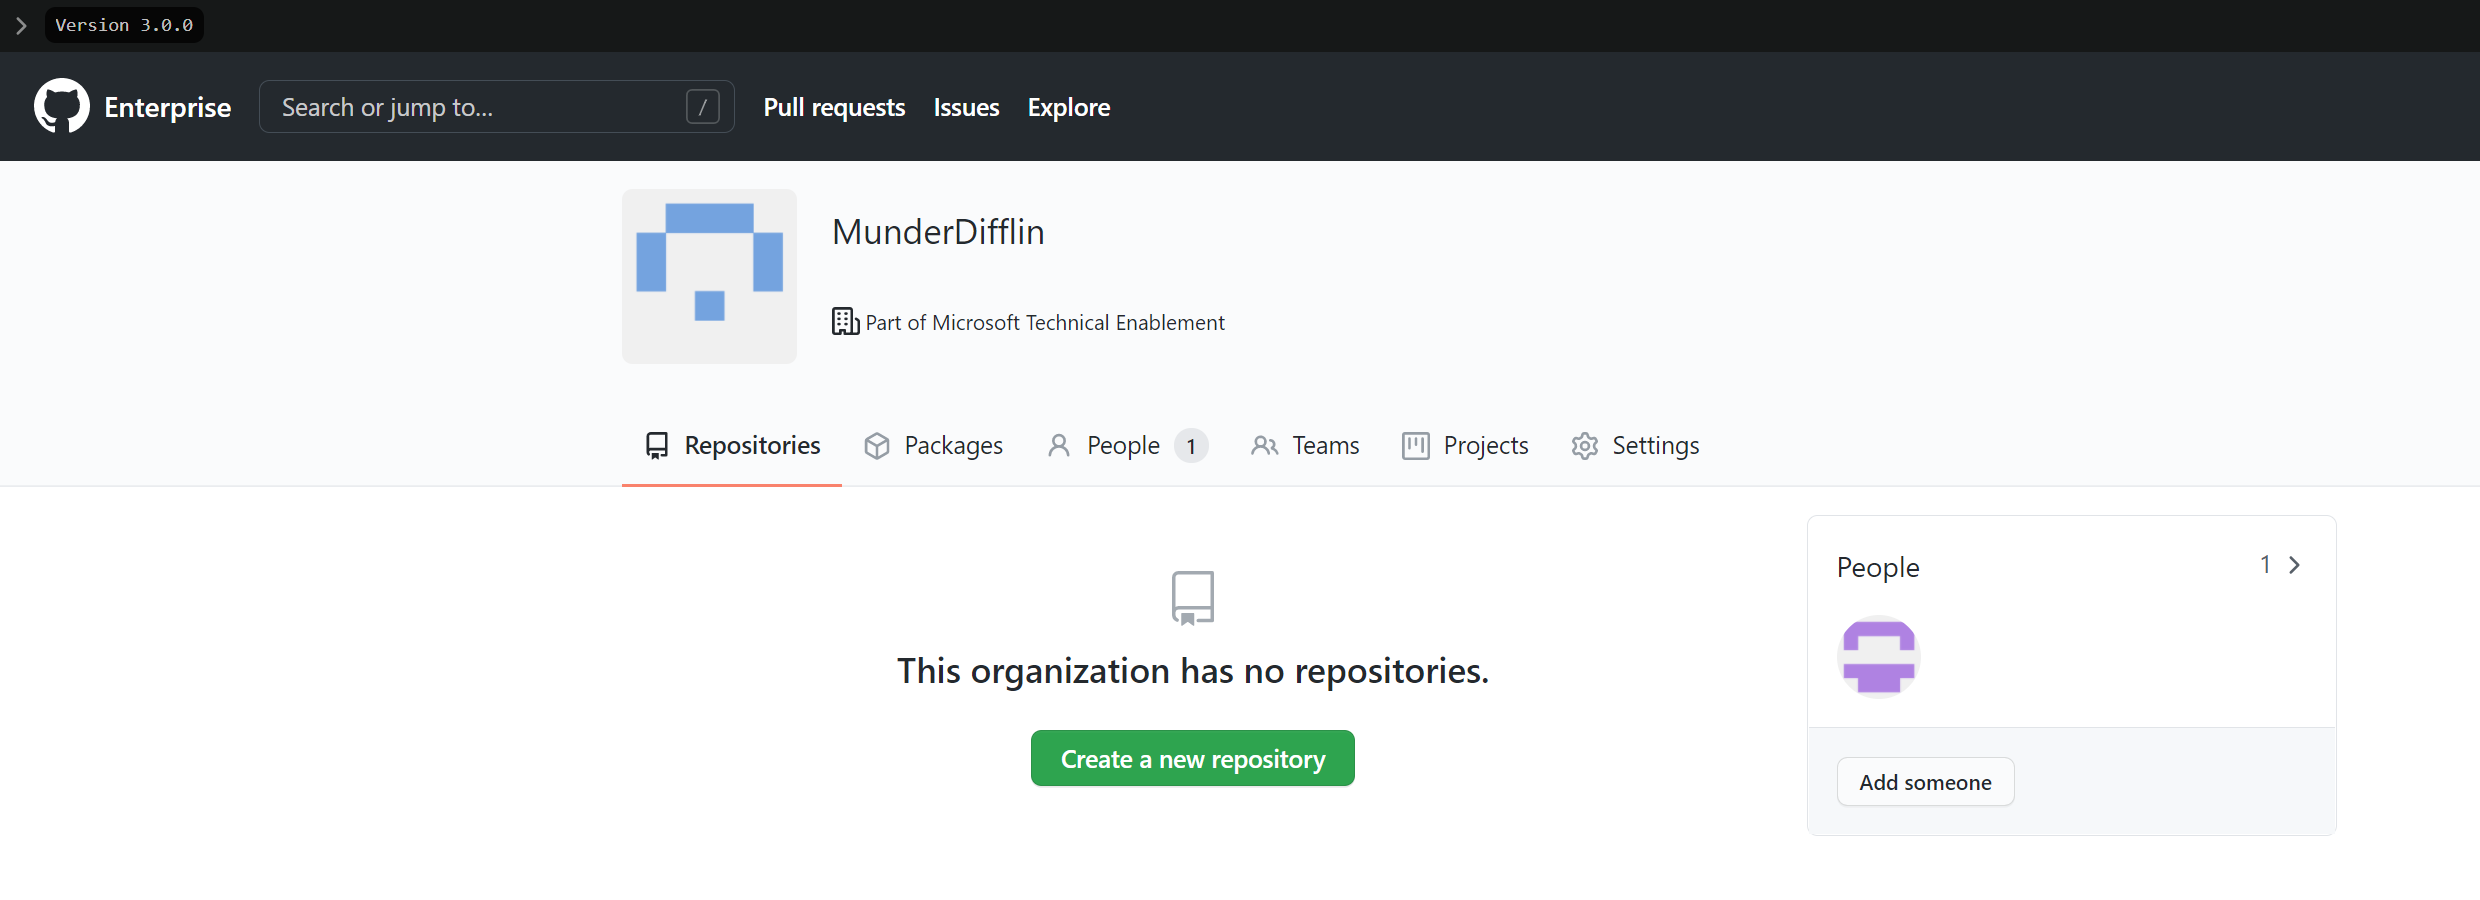
On the next page, choose an organisation name and then complete set up. You should see something like this:
Nice!! Now, I’ll cover off some recommended, but optional, configuration settings. Feel free to use the blog menu to skip to any stage below.
Domain & DNS
If you already have a domain you want to use, please refer to instructions provided by your hosting provider. They shouldn’t be too dissimilar to what I’m going to walk you through here.
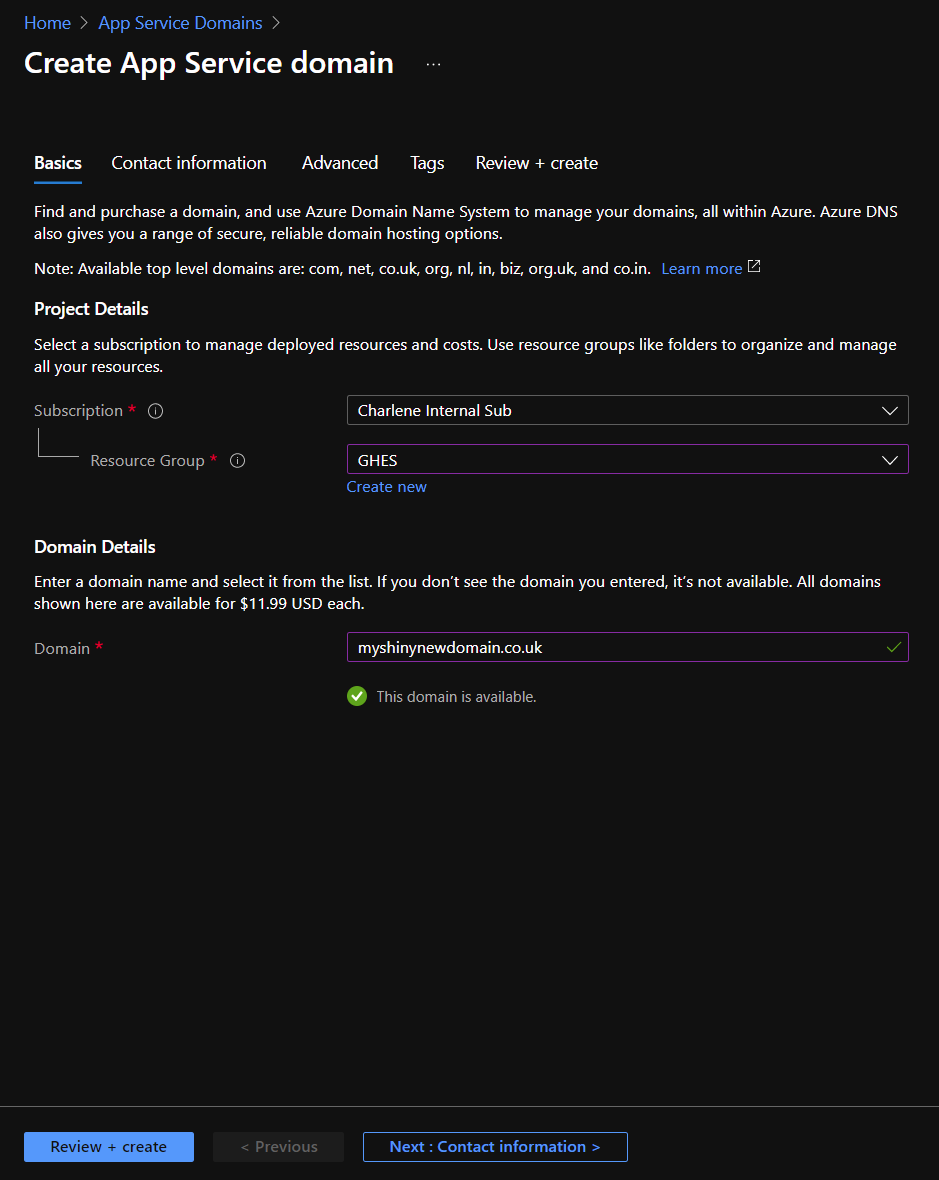
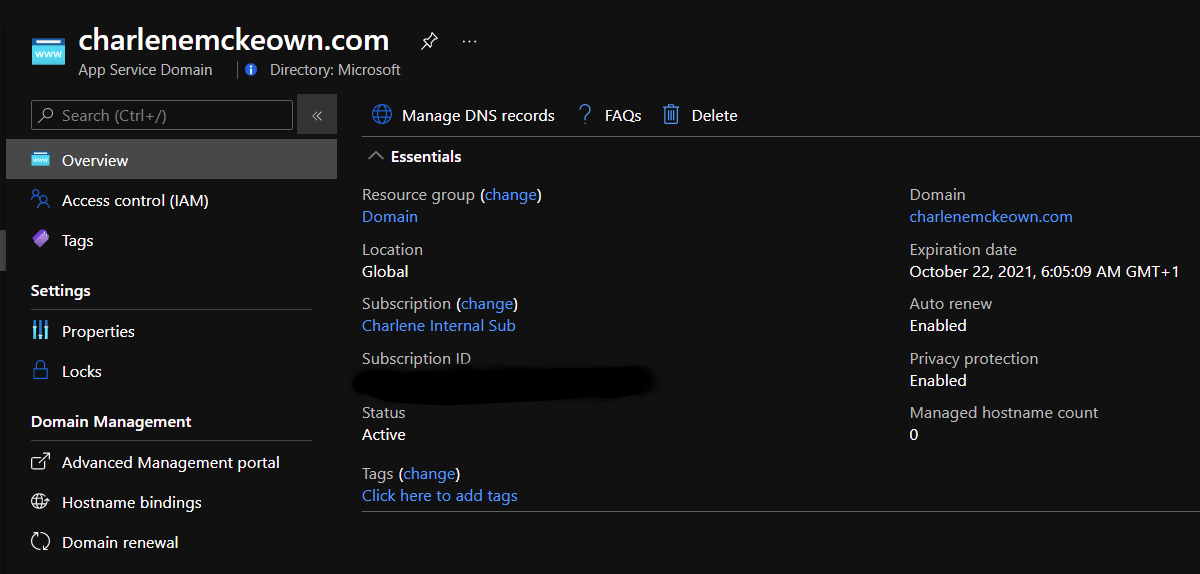
You can buy a domain with Azure App Service domain, which will also deploy Azure DNS along with it to help you manage it. It’s around $12 a year, but do check the pricing before you purchase it!
Simply search for it in the Azure portal and create one. You’ll need to pass in contact details and choose what you want your domain to be.
Once it has been created, click on it and then click on Manage DNS Records.
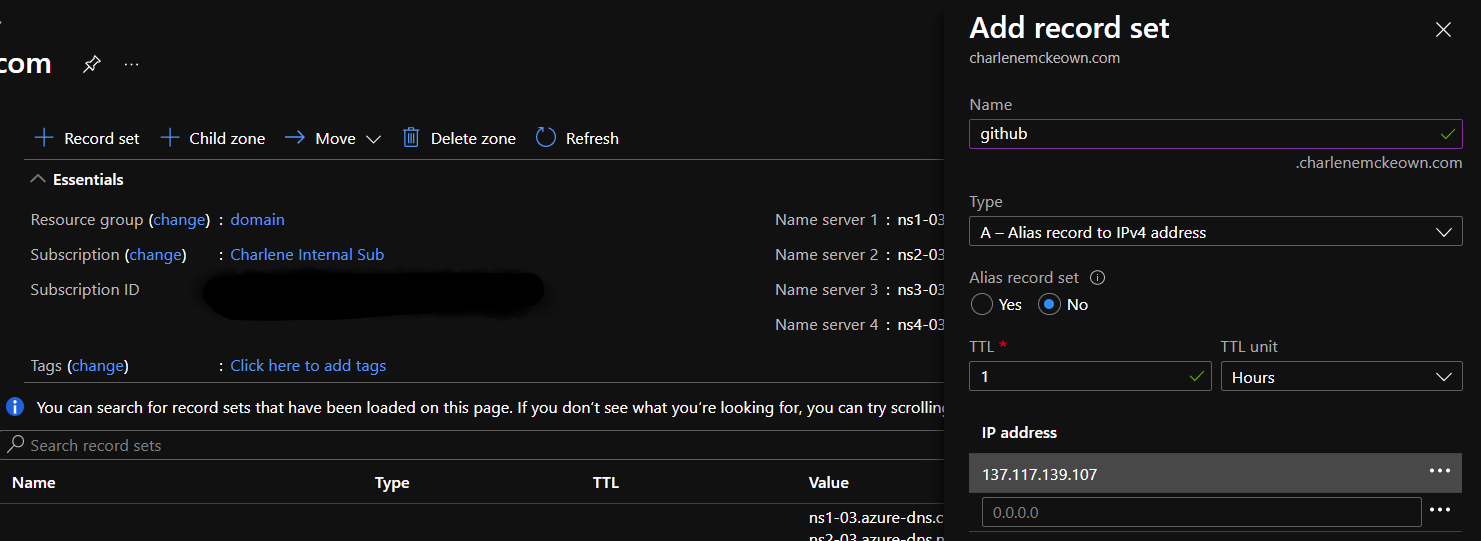
We need to add an A record for our GitHub Enterprise Server.
In another tab, go back to your GitHub Enterprise Server VM in the Azure portal, and grab the public IP for it.
Back in the DNS settings for your domain, click on + Record Set and then fill it in as shown below, substituting your VM’s public IP. Click OK.
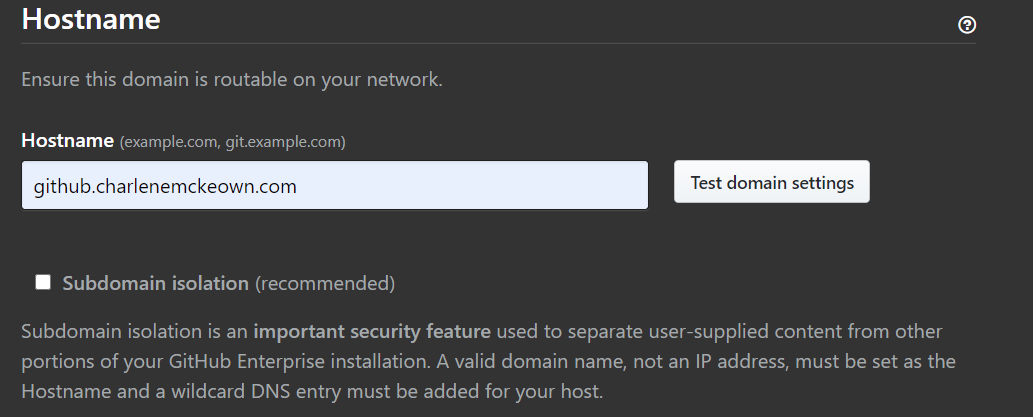
Back in the settings page for GH Enterprise, change the domain name under Hostname to whatever you chose yours to be. In my case, it’s github.charlenemckeown.com.
Test domain settings - you should see a green tick. If you do, go ahead and Save Settings to the left to restart your instance. If you don’t, double check your DNS entry is correct (A record set to the public ip of your GitHub Enterprise VM).
TLS
You can import your own TLS certificates, but I’m going to make use of Let’s Encrypt. It’s a global certificate authority, and it is free. They’re a non-profit organisation, and they supply certs to millions of websites.
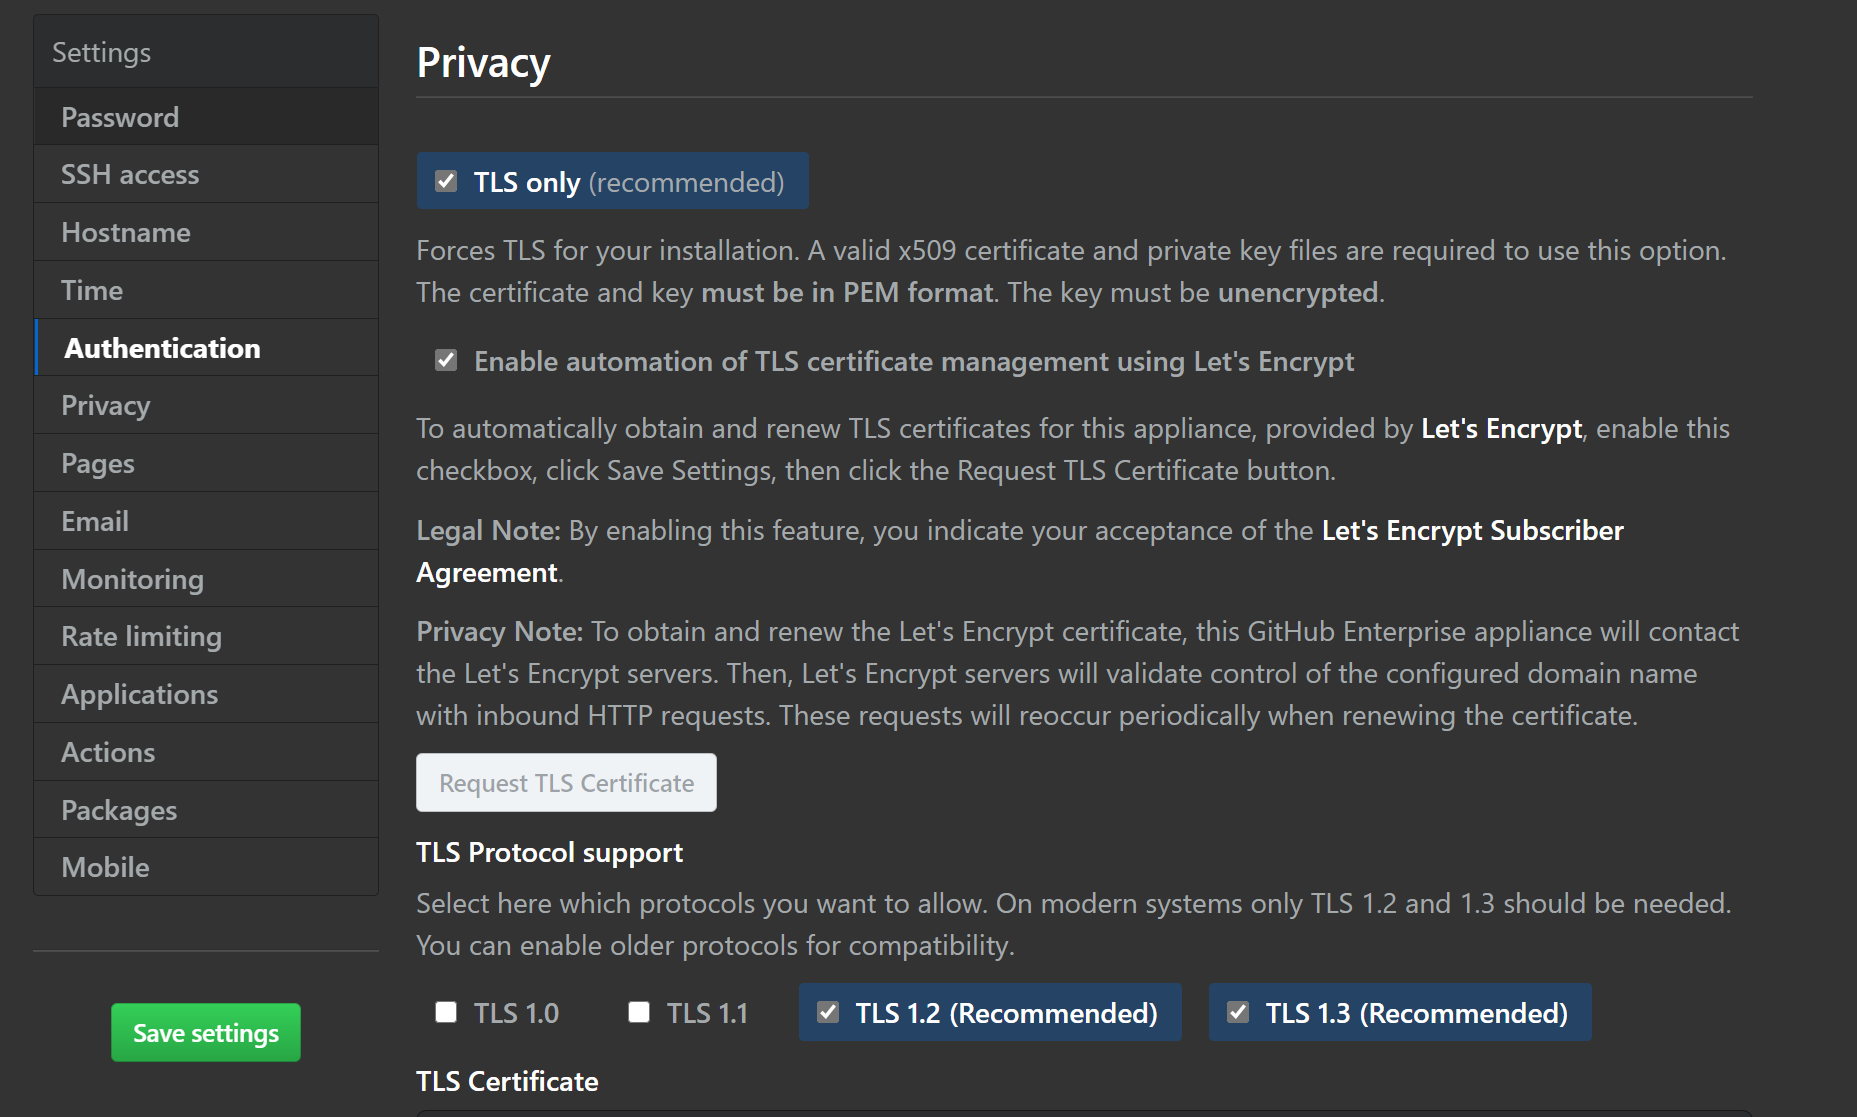
Once you select the button to enable TLS cert management with Let’s Encrypt, you must save settings (until you do, the Request TLS Cert is greyed out). This will restart your instance. Go get a cup of tea!
Eventually, the restart will complete and you can visit your instance, we can complete TLS setup.
Visit your settings page again.
https://yourdnsname.cloudapp.azure.com:8443/setup/settings
Scroll down to Privacy, and you’ll see that you can now click the Request TLS button. Do it, and optionally view the logs to watch what’s going on. It should only take a few minutes. Once it is done, save settings again. Do some stretches. Pet the cat?
SMTP with SendGrid
If we don’t configure this, we won’t be able to make use of notification features in GitHub. I’m going to use Sendgrid to demonstrate this capability - you can sign up for a free account with a limited number of emails per month. It’s more than good enough for our purposes.
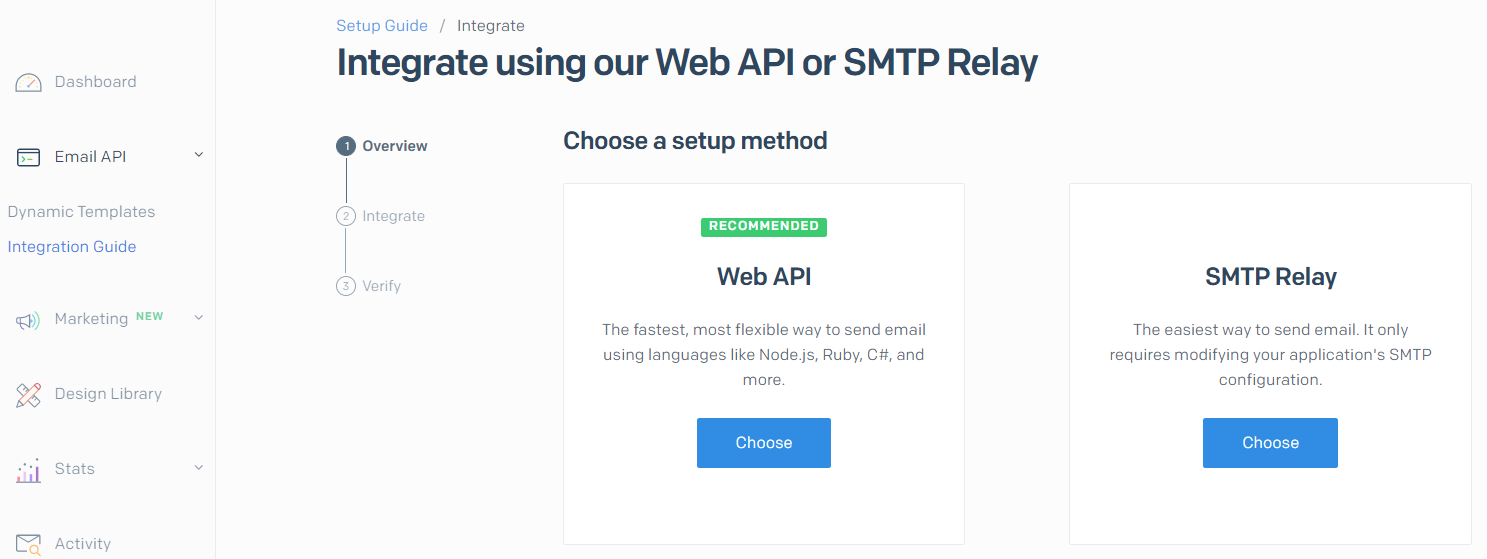
Click on Email API –> Integration Guide and then choose SMTP Relay.
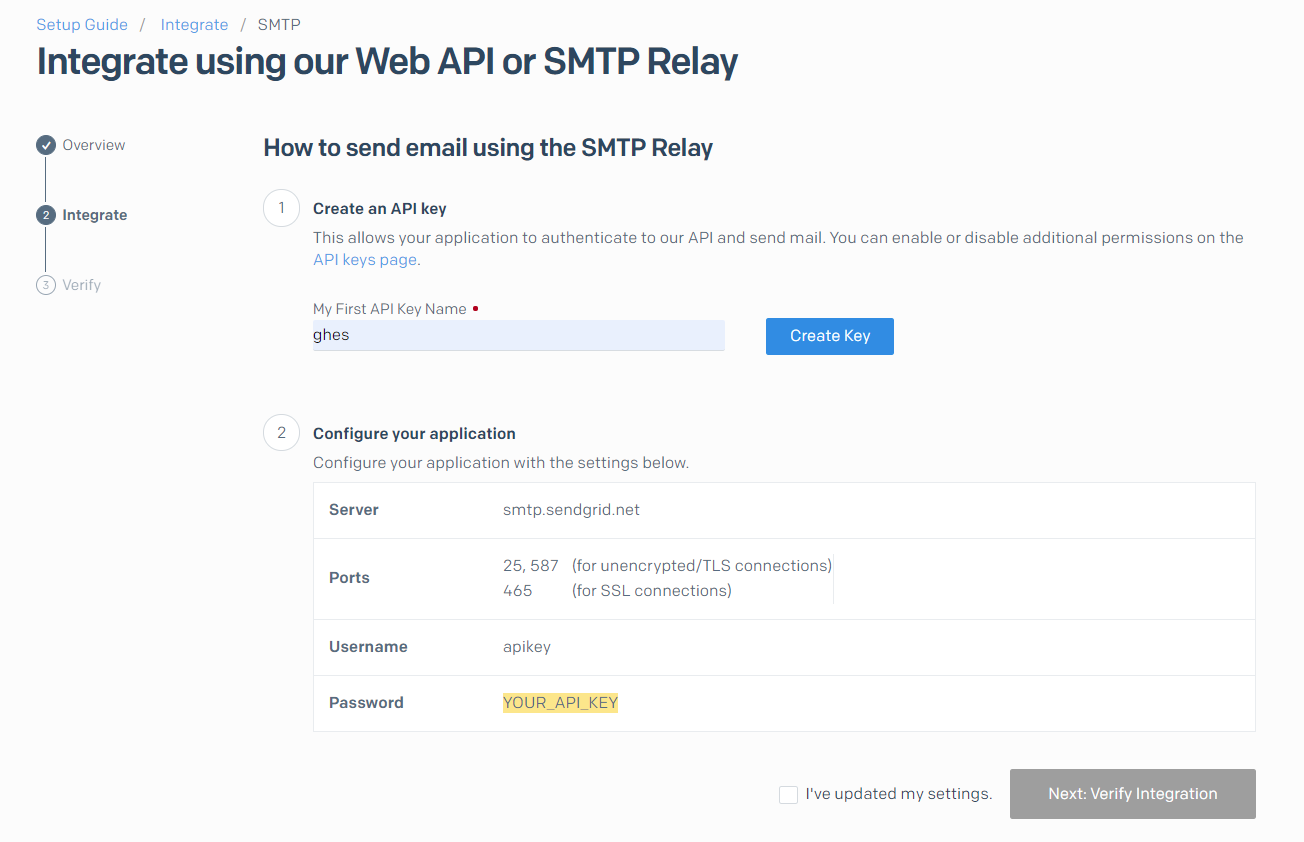
On the next page, give your API Key a name and then hit Create Key.
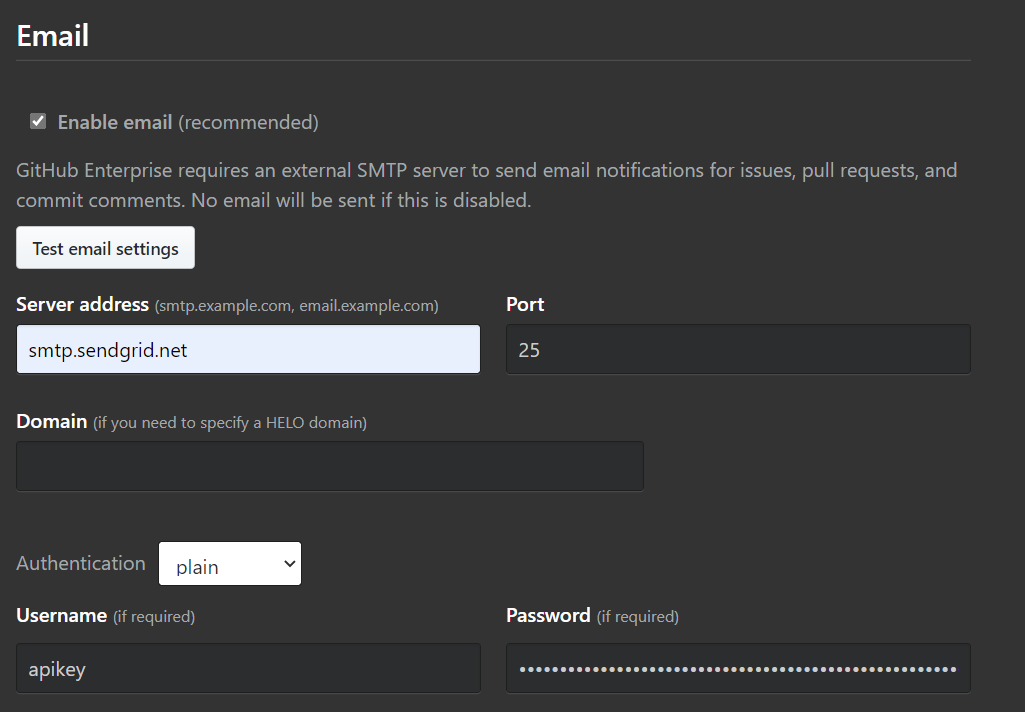
Back in GitHub, we need to update some settings. Find the Email section and input the following:
Test that it works and then go back to Sendgrid to verify integration. You may have to send the test email again.
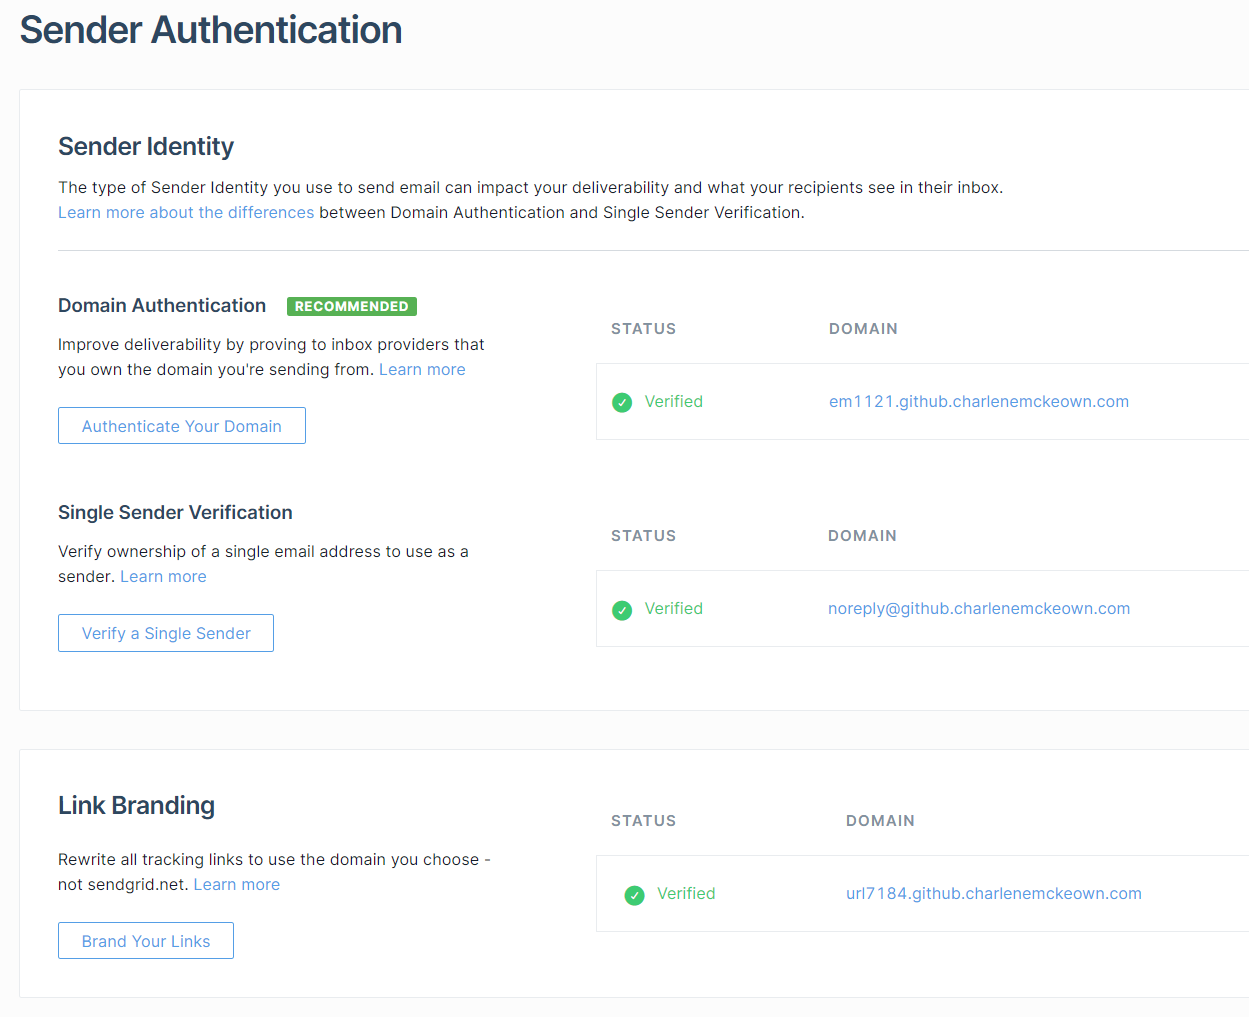
You can do a bit more with Sendgrid. I chose to do domain authentication and single sender verification:
It’s fairly straightforward to do - Sendgrid will give you some DNS records to add to your Azure DNS - once you have done that, you should be good to go!
Monitoring
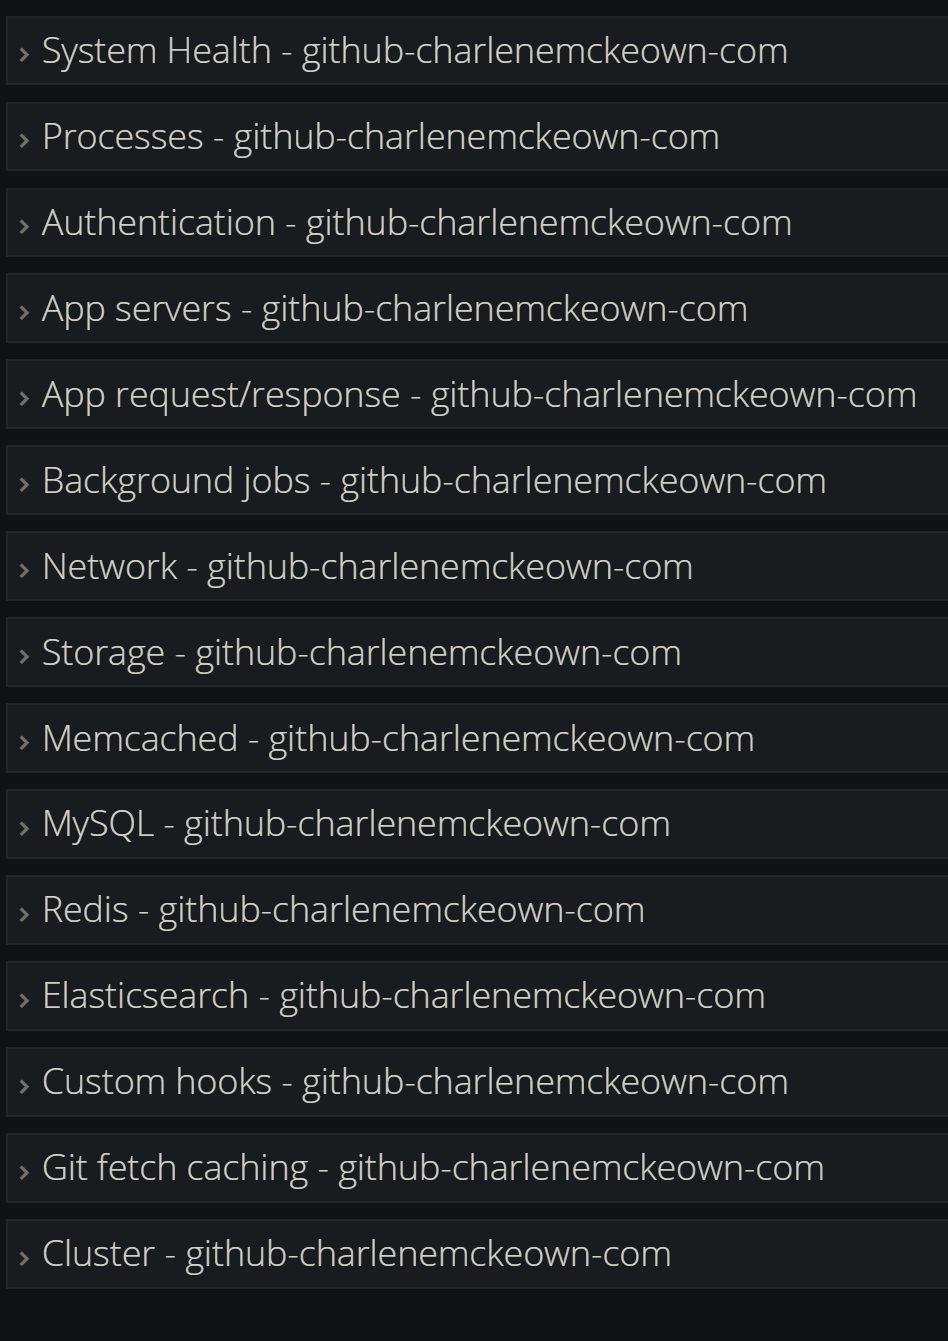
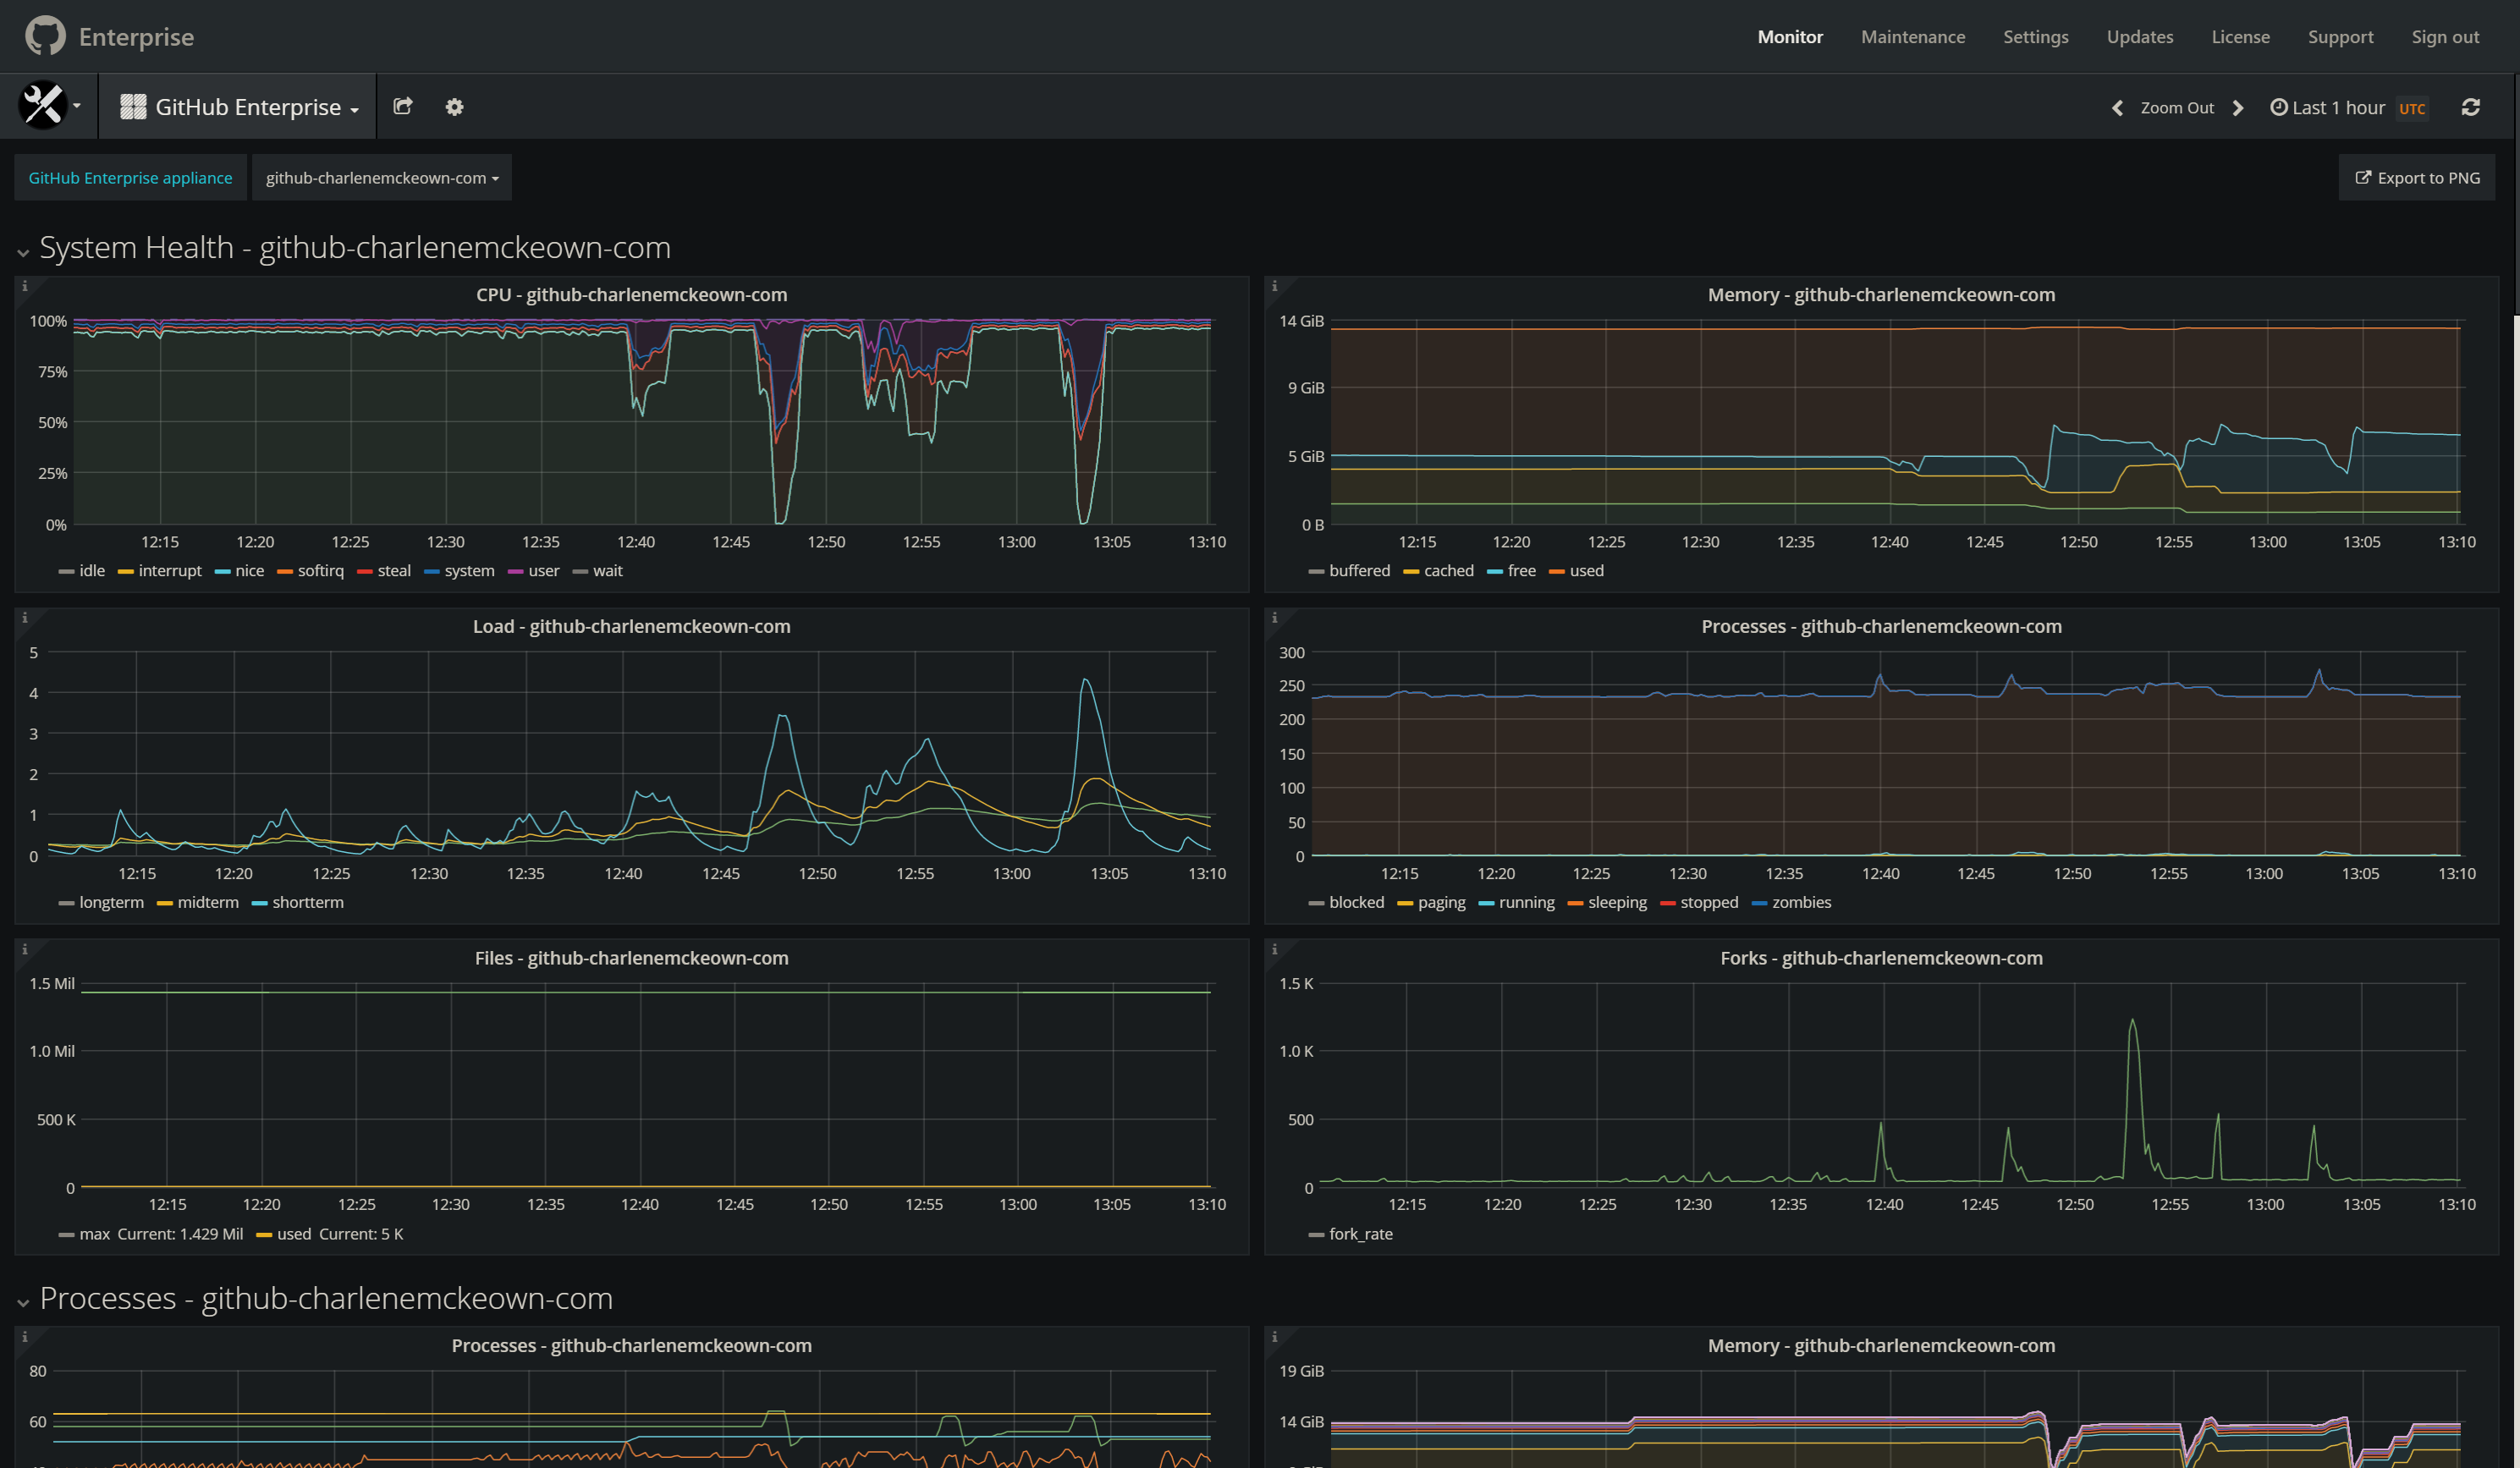
The out of the box monitoring capabilities really surprised me. Grafana comes built in with a whole bunch out of ready made charts.. pretty amazing stuff. See below for some screenshots.
Next
In the next post, I’ll walk you through how to get started with GitHub Actions in GitHub Enterprise, including how to set up your own GitHub Private Runner.
Note: If you want to attempt that now, I have an example of a GitHub runner Dockerfile and a GitHub Action to build and deploy it to an Azure Container Instance. Check it out here.
Future Topics
There are a few more areas I’d like to explore more, and will likely write about my experiences with the following:
- Syncing with GitHub.com with GitHub Connect
- Networking and security
- Azure AD integration
- GitHub Advanced Security
- Configuring for high availability and reliability
- Monitoring and alerting
